About this the old post
Im re-writting this post at beach because infinity free had data loss and by murphy’s law i didn’t backup my old blog
A brief story about the idea
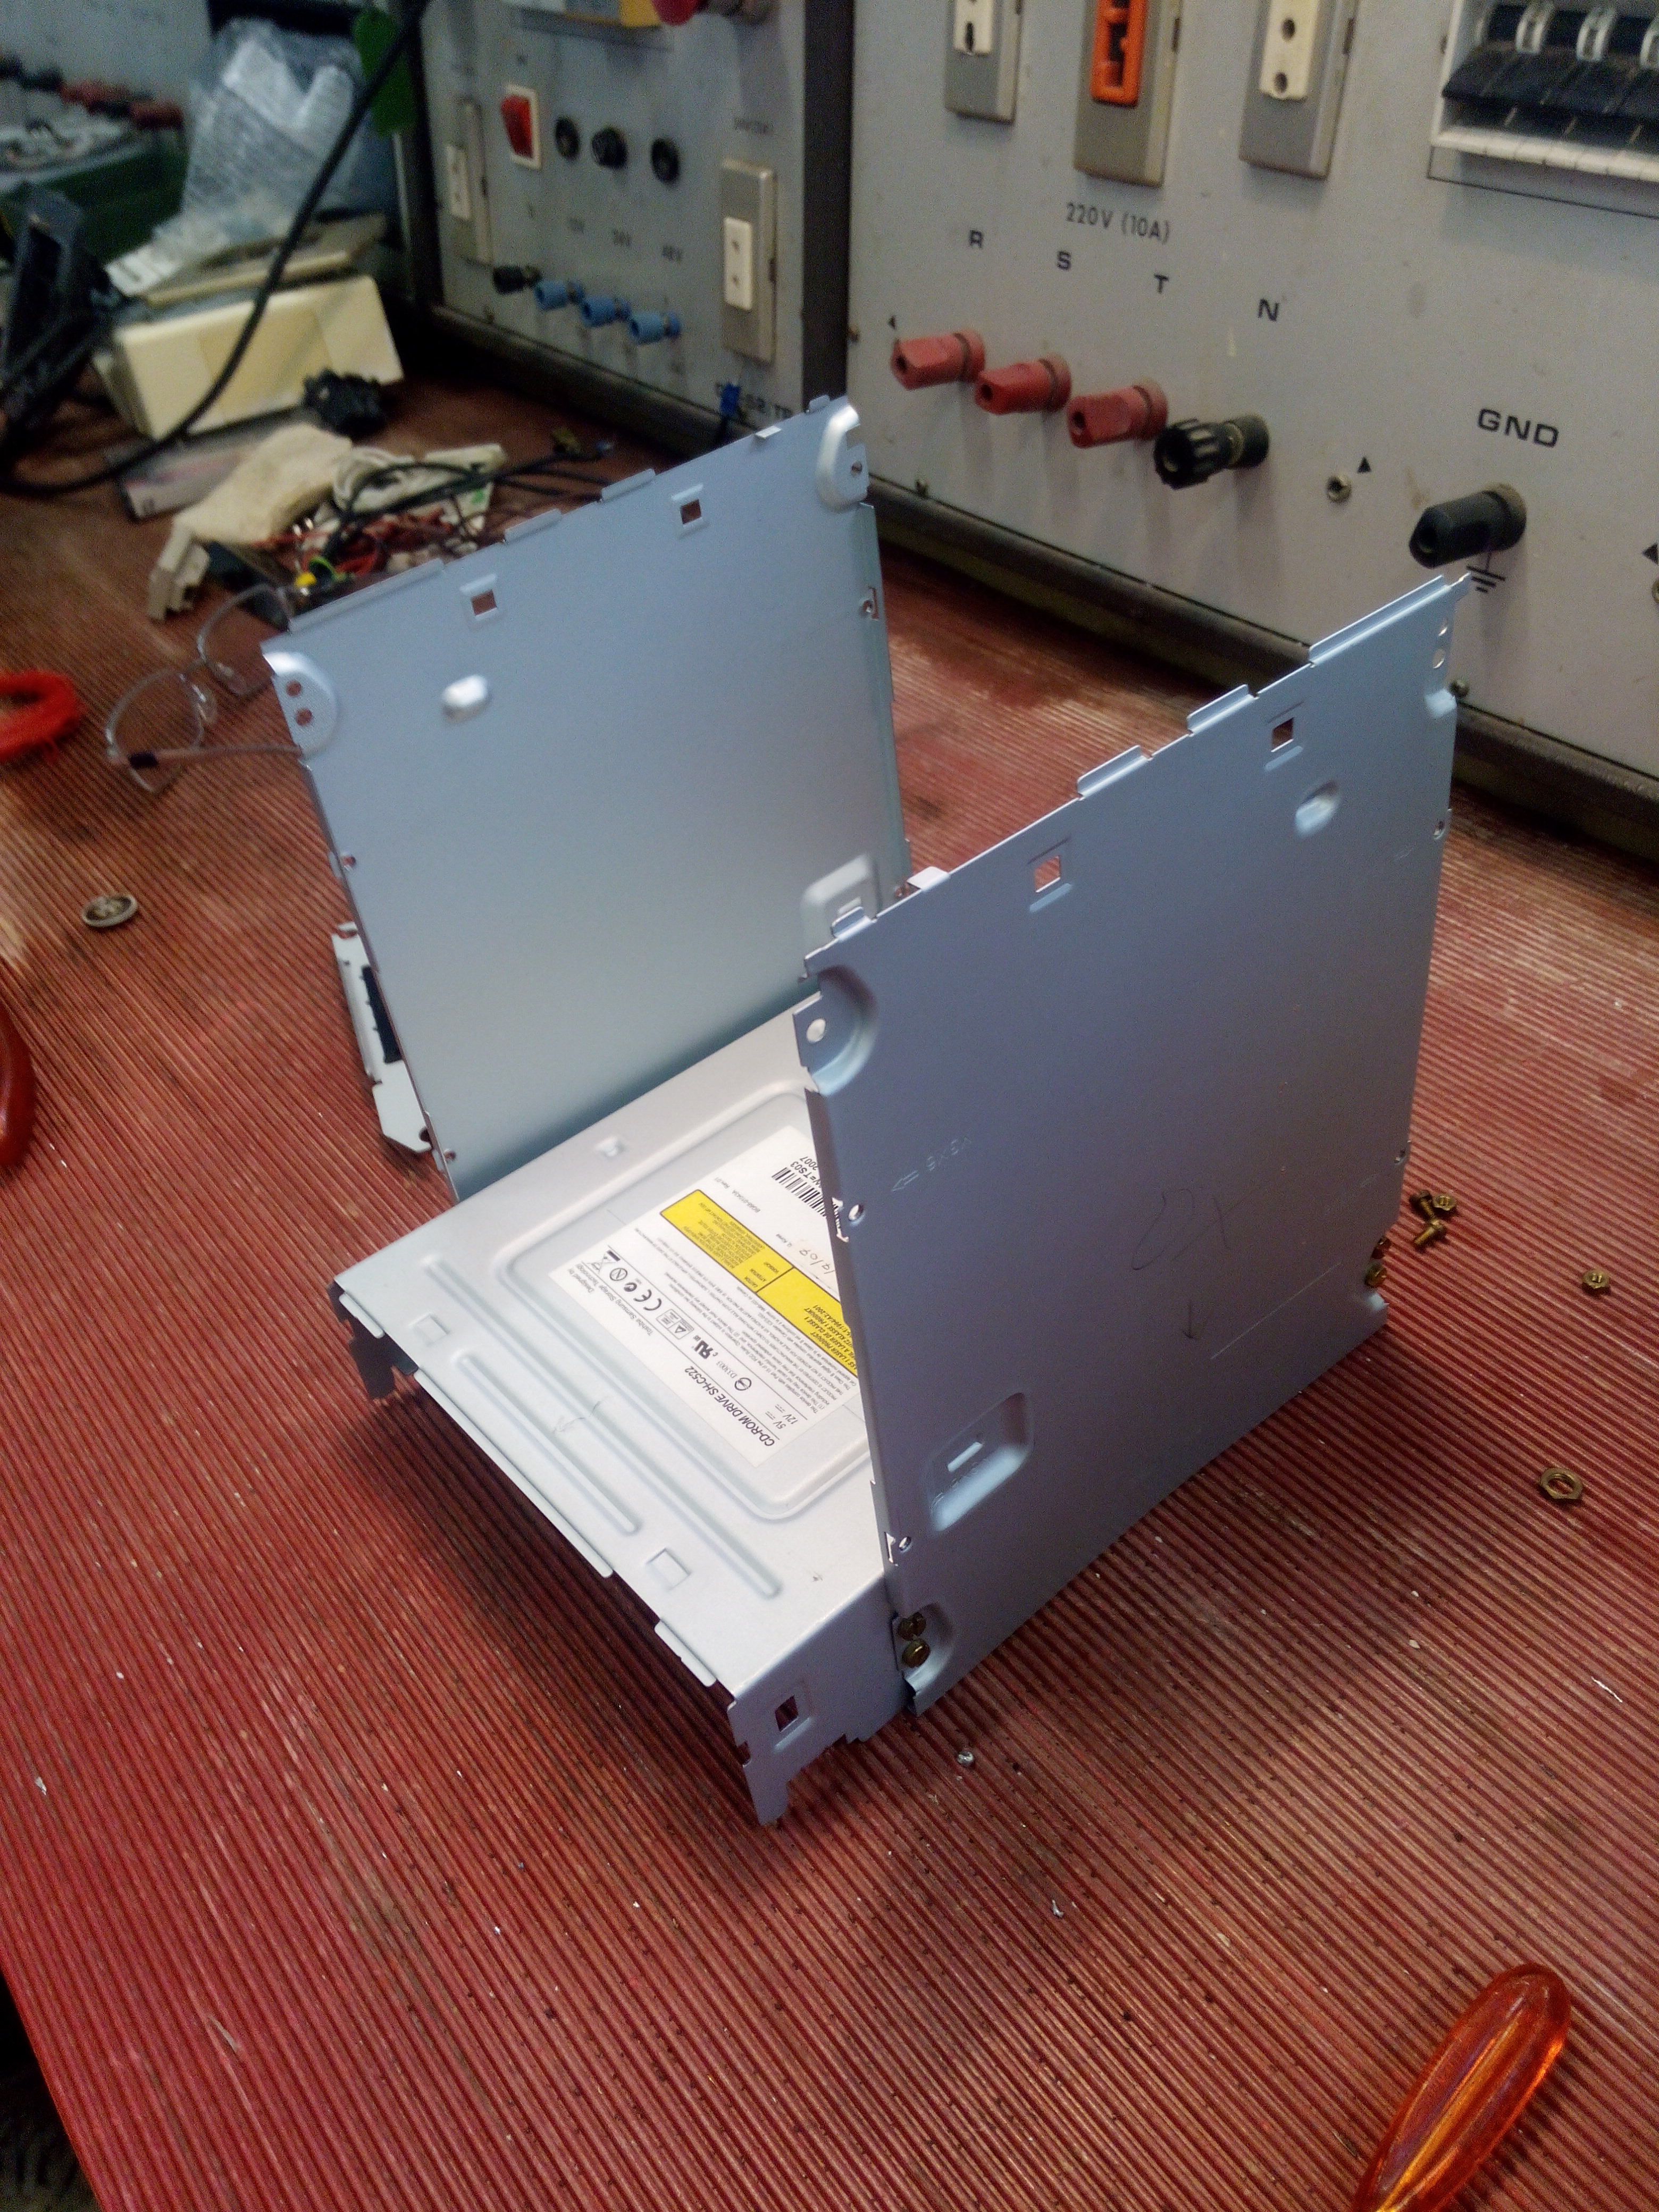
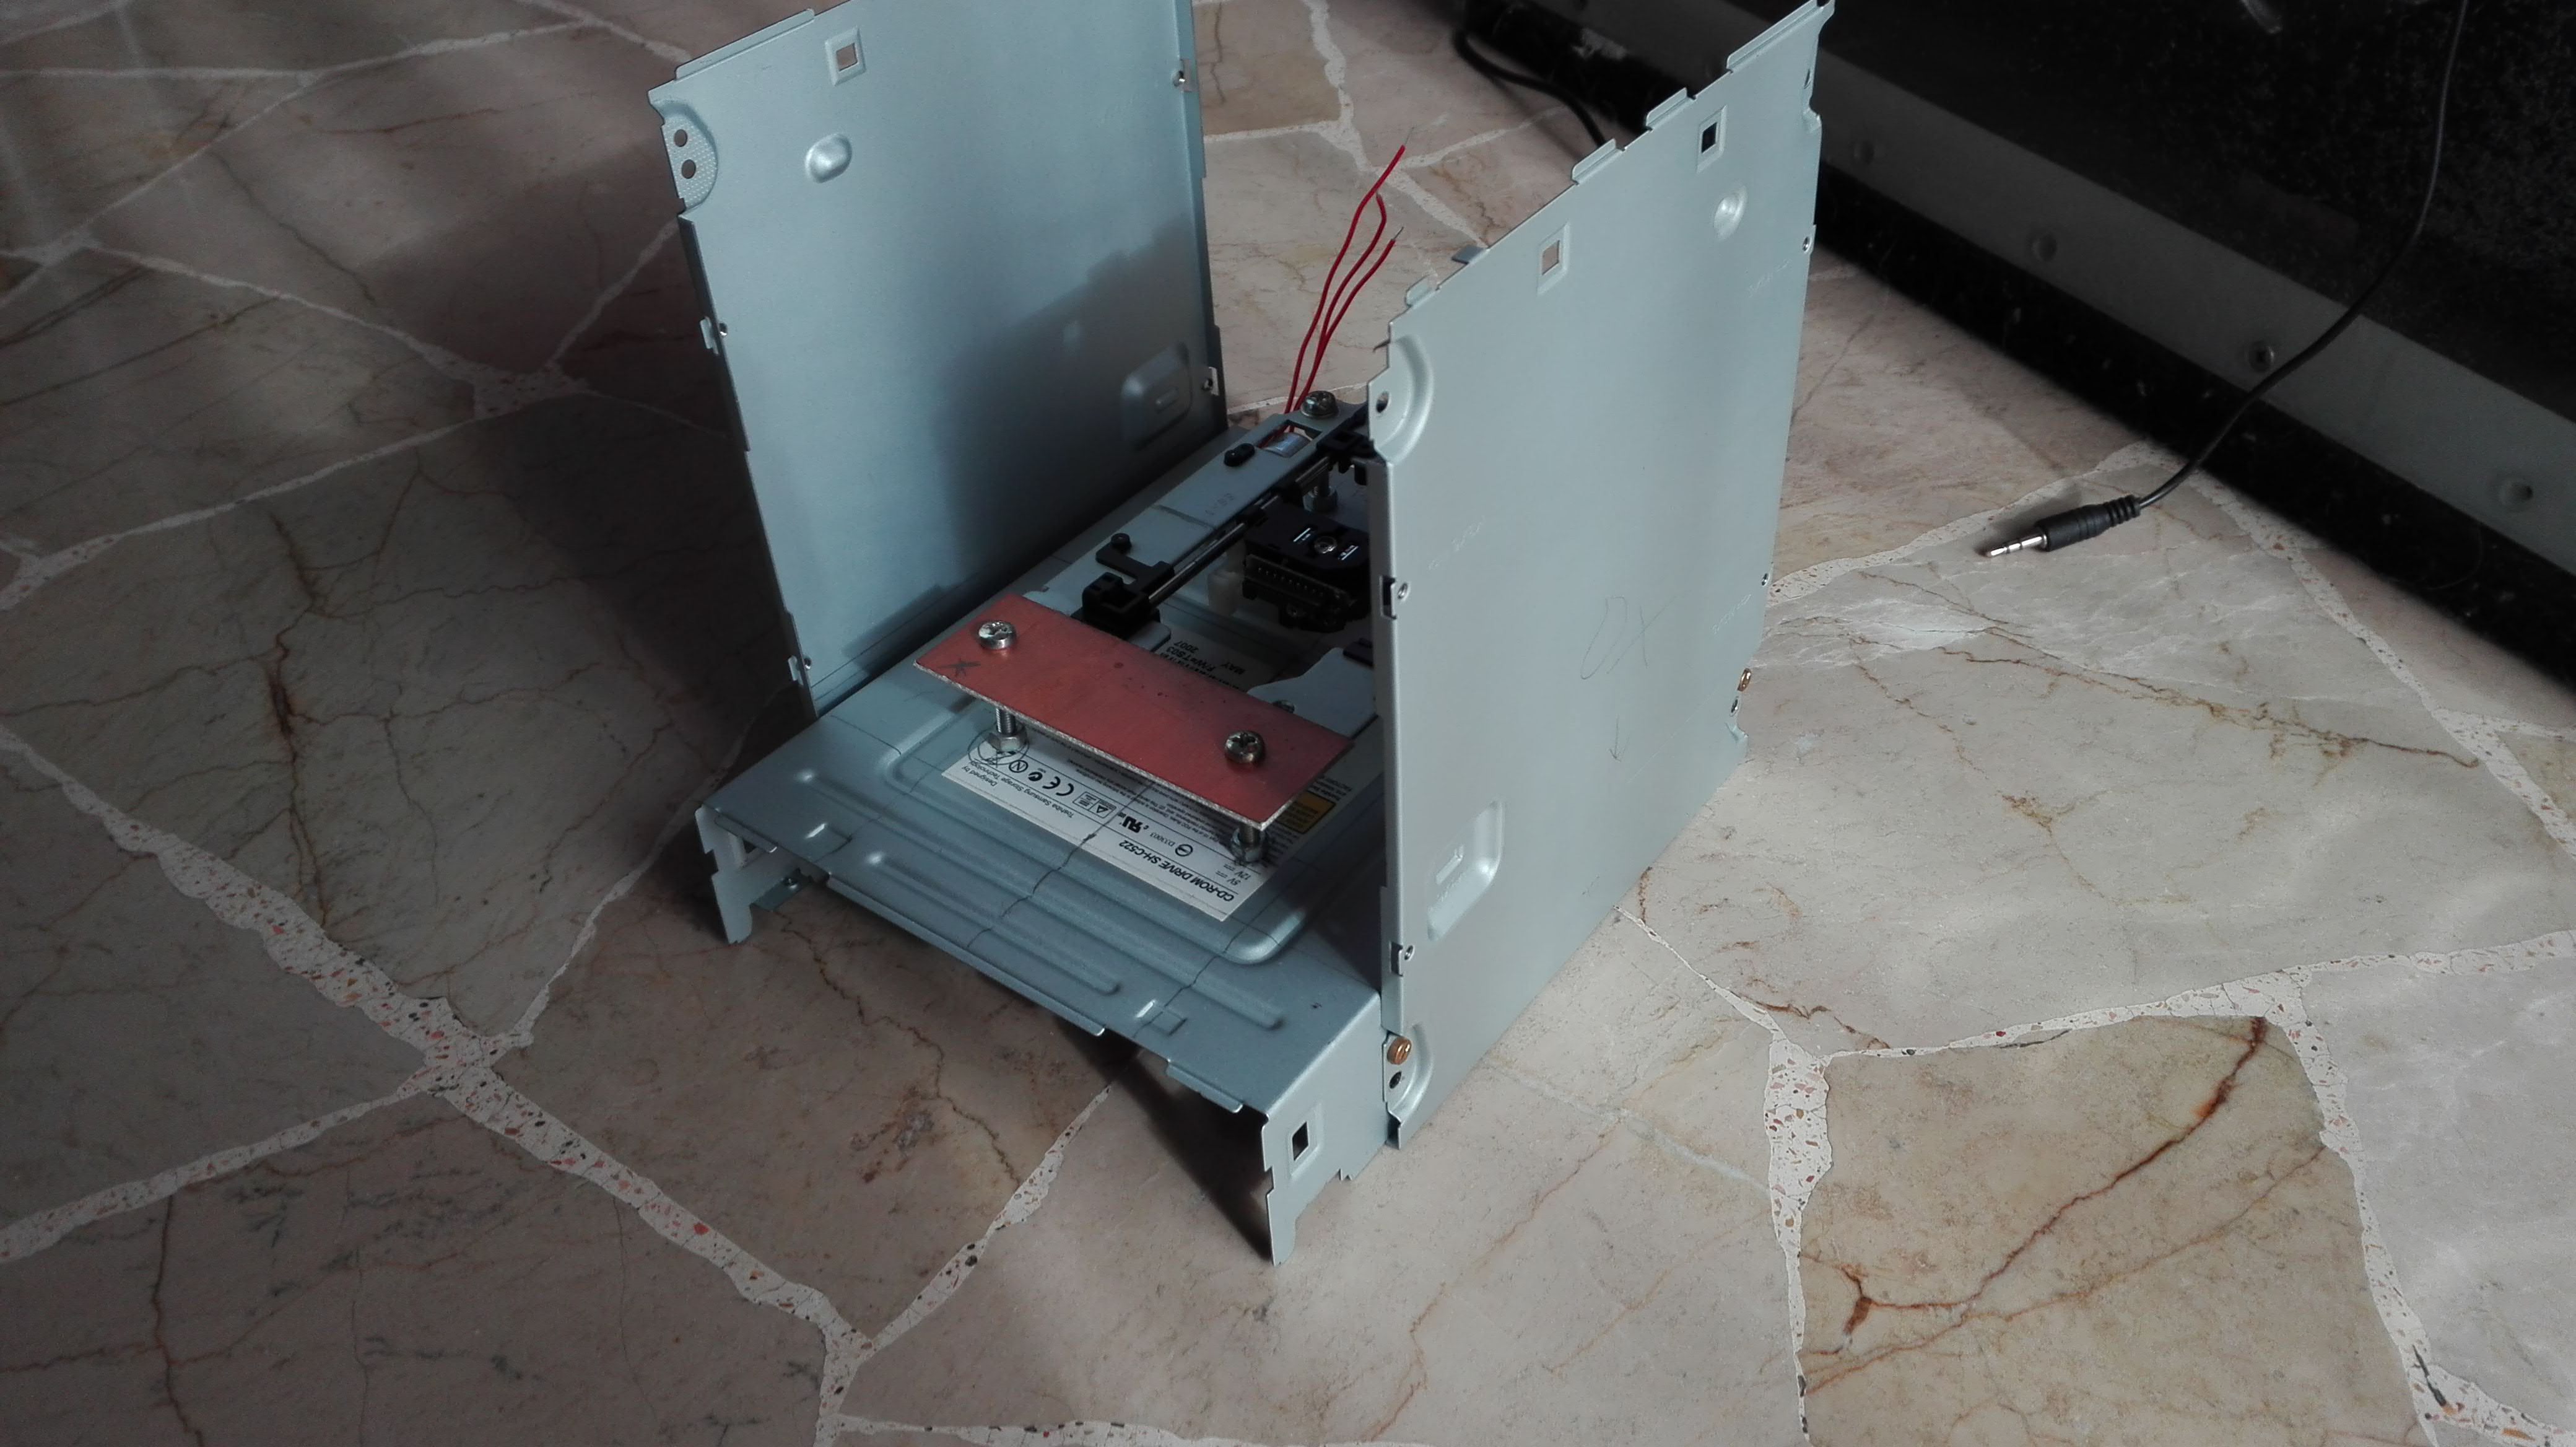
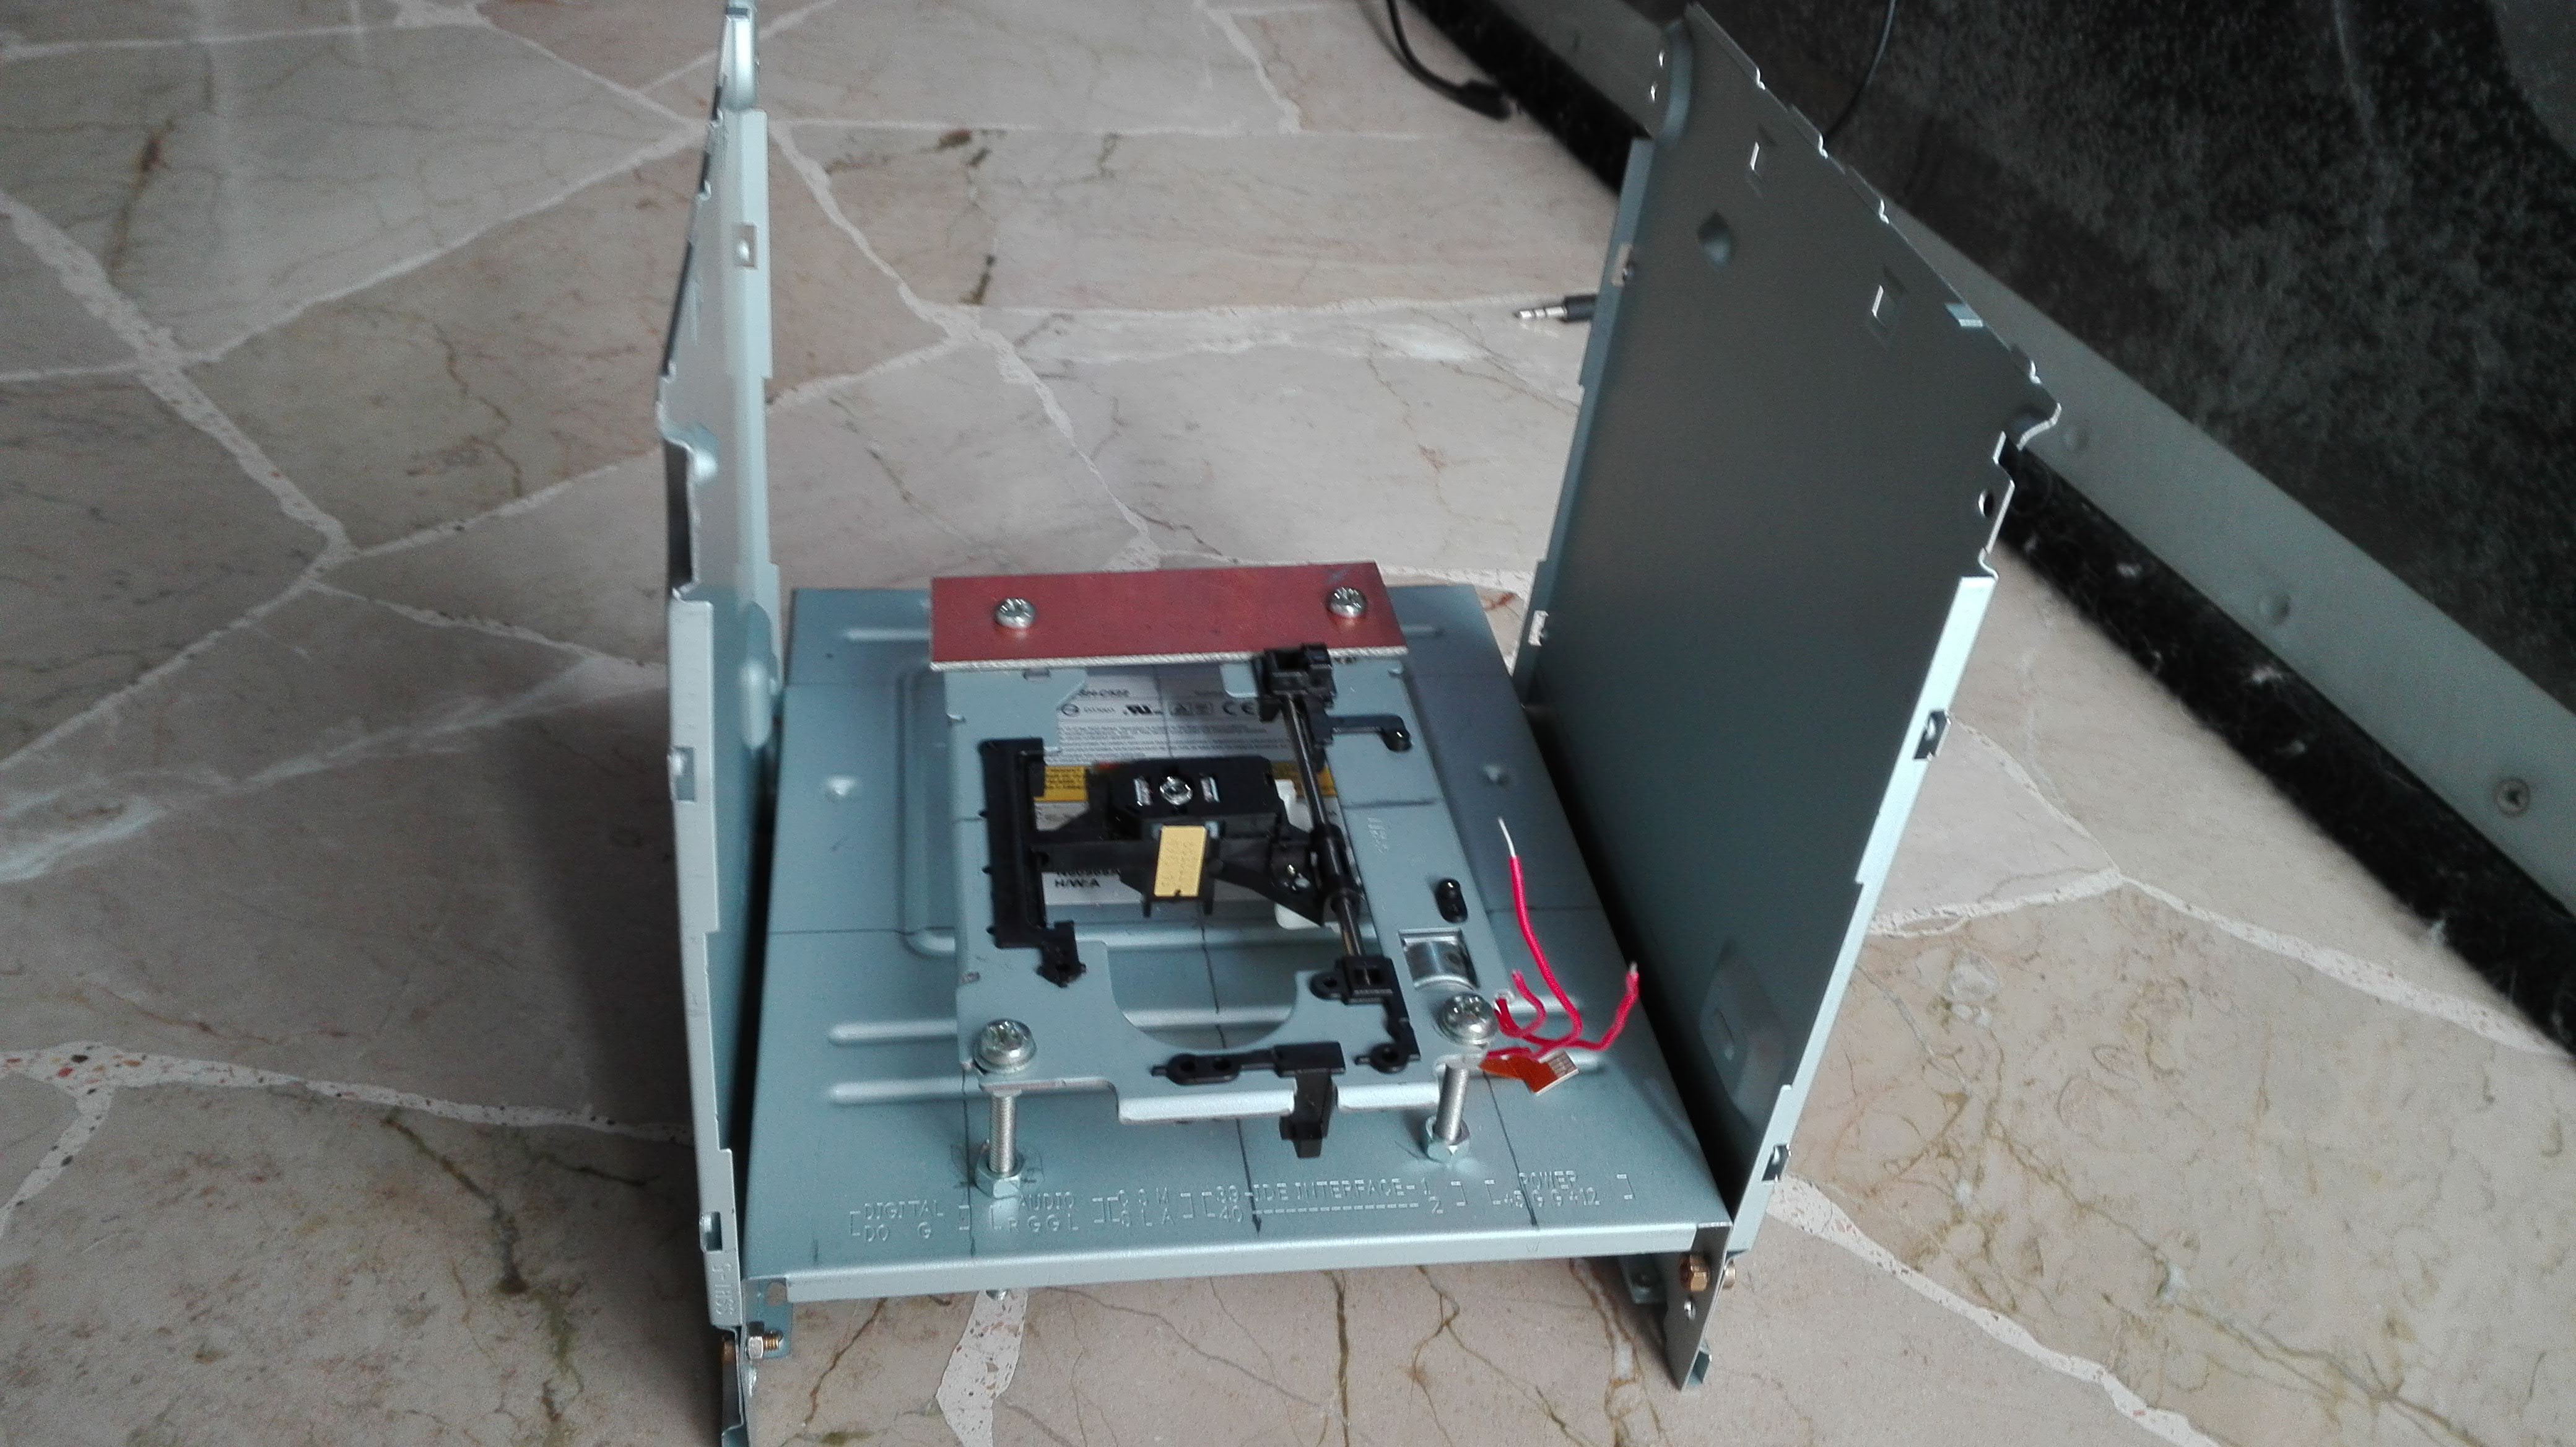
It all started from an existing project on the internet, this project consisted of building a printer with parts recovered from burners. I liked the idea and decided to improve everything by proposing a version with greater reliability, robustness and precision. To realize the project I found and dismantled the CD burners from the computers thrown away in the school’s electrical engineering workshop
The mechanics and the frame
In this section i will describe how i built the printer frame and how mechanically work
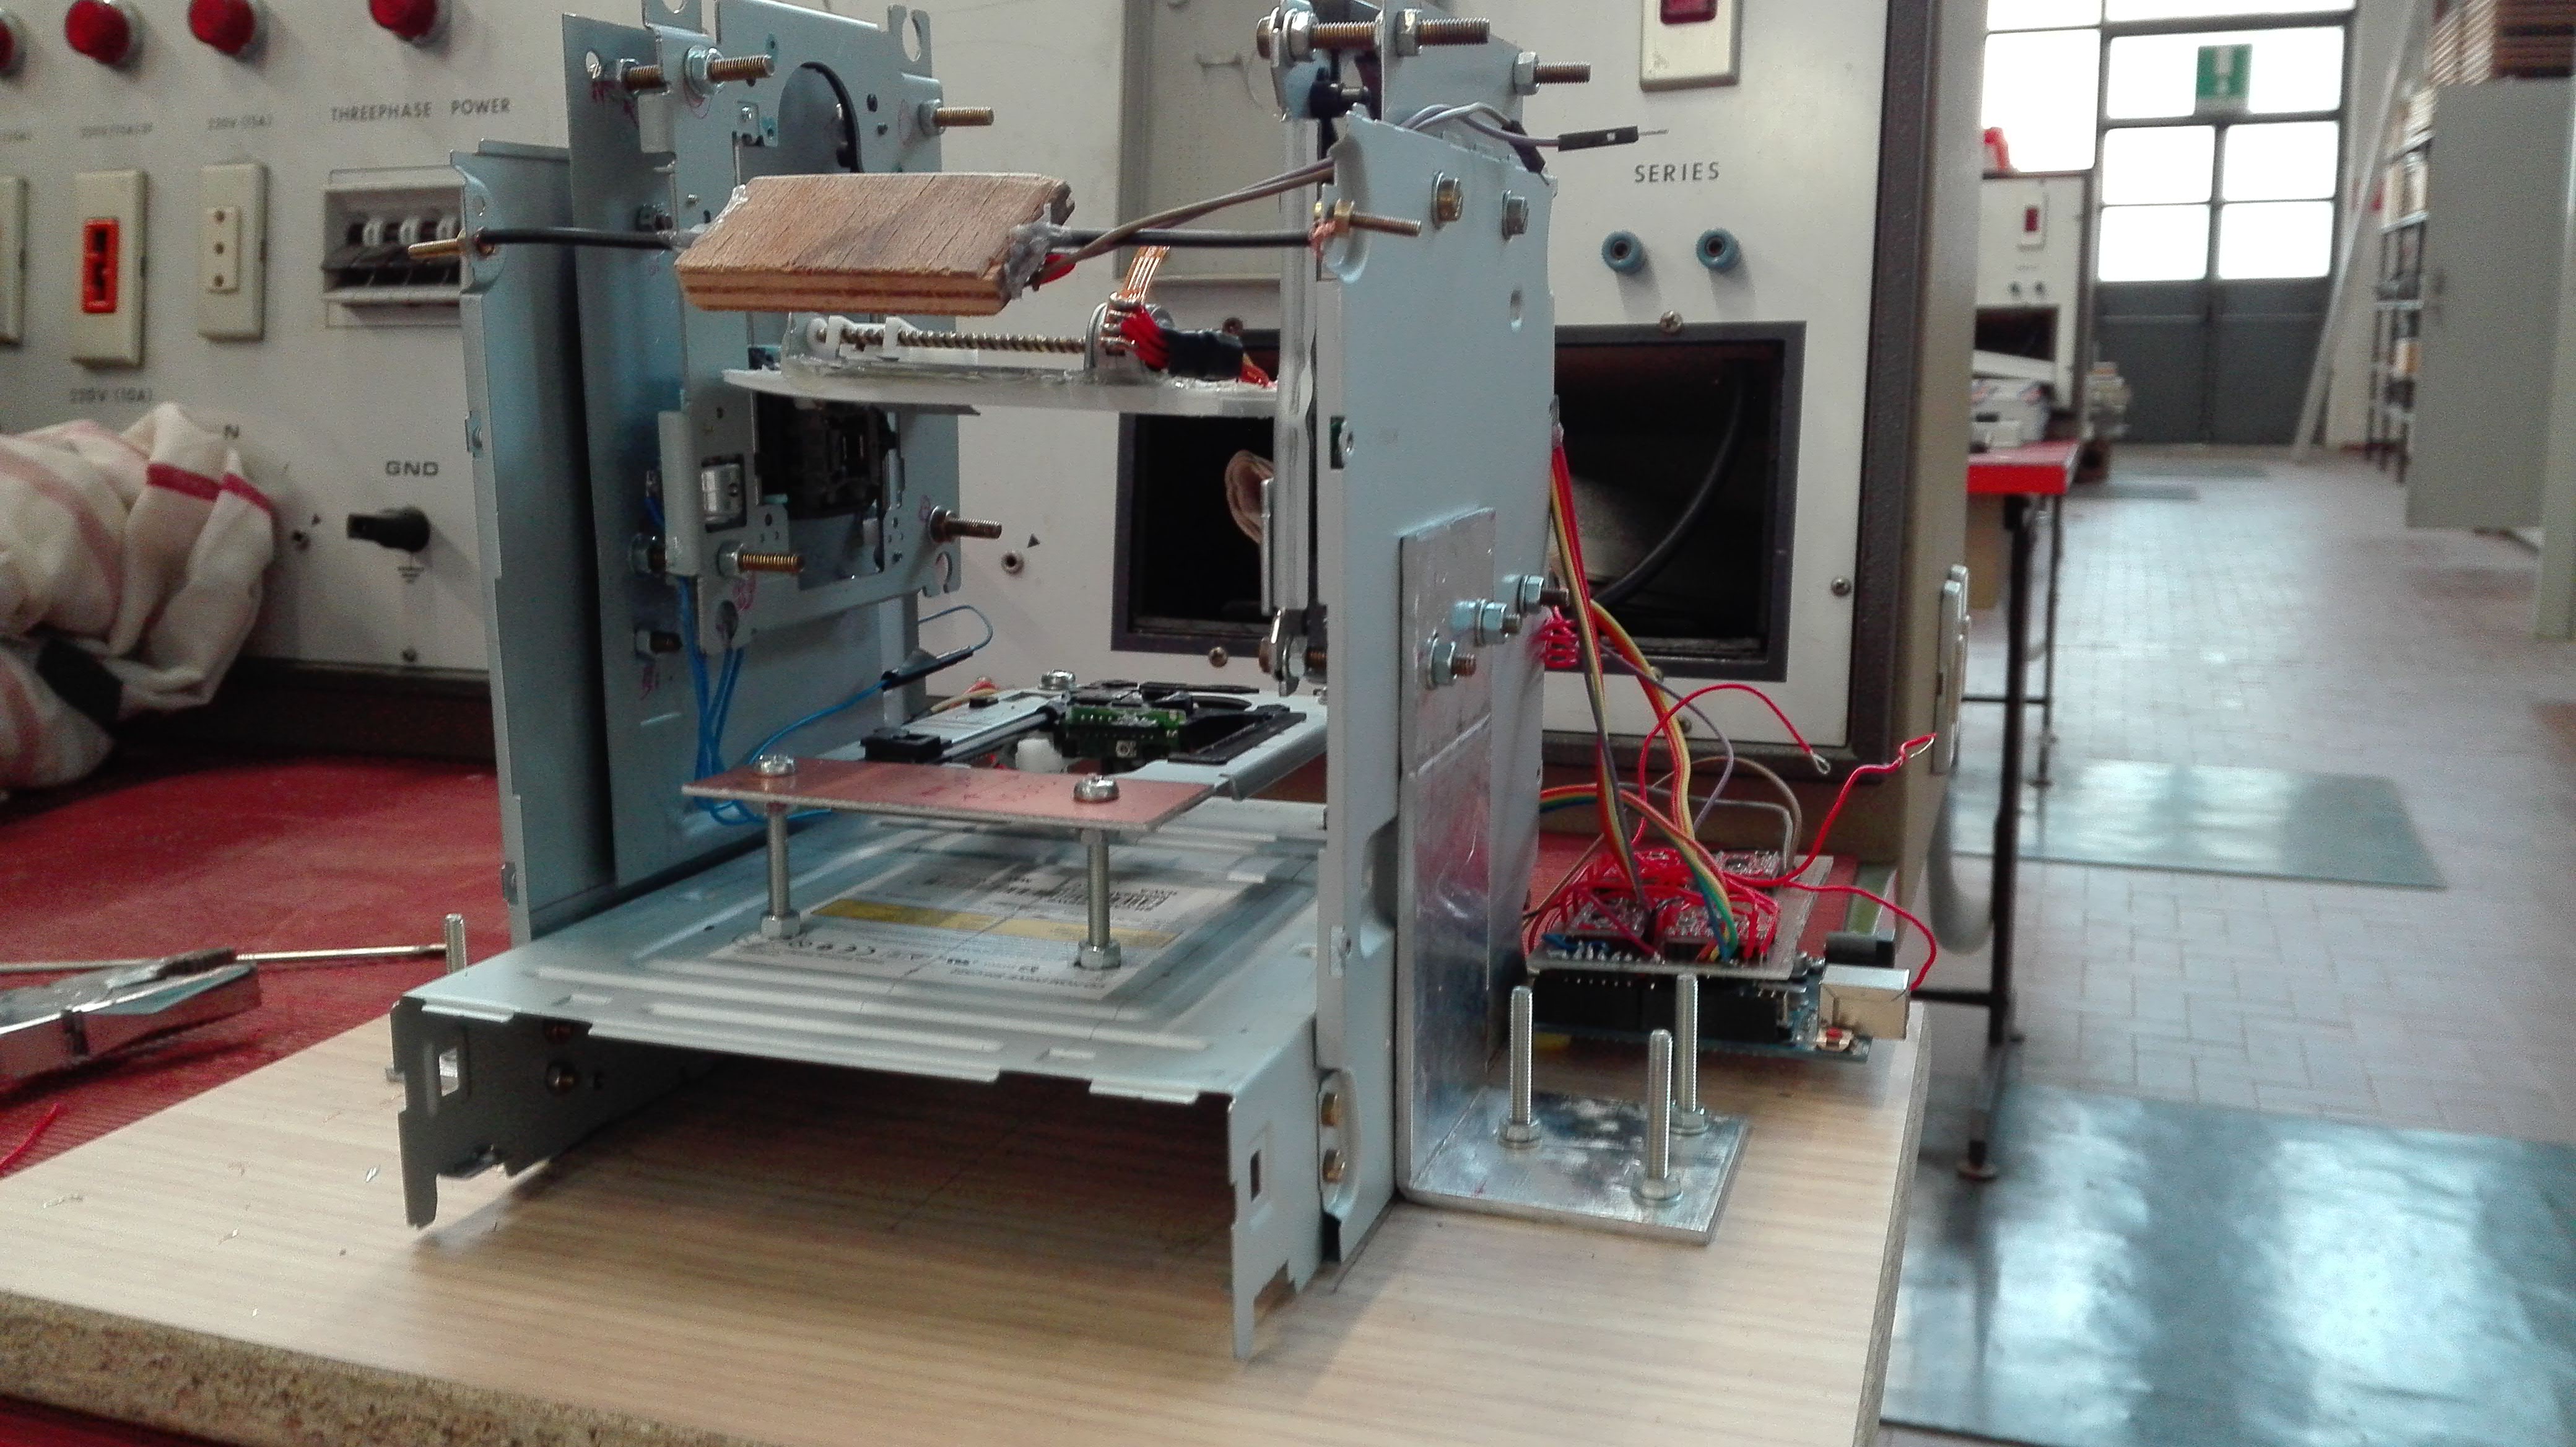
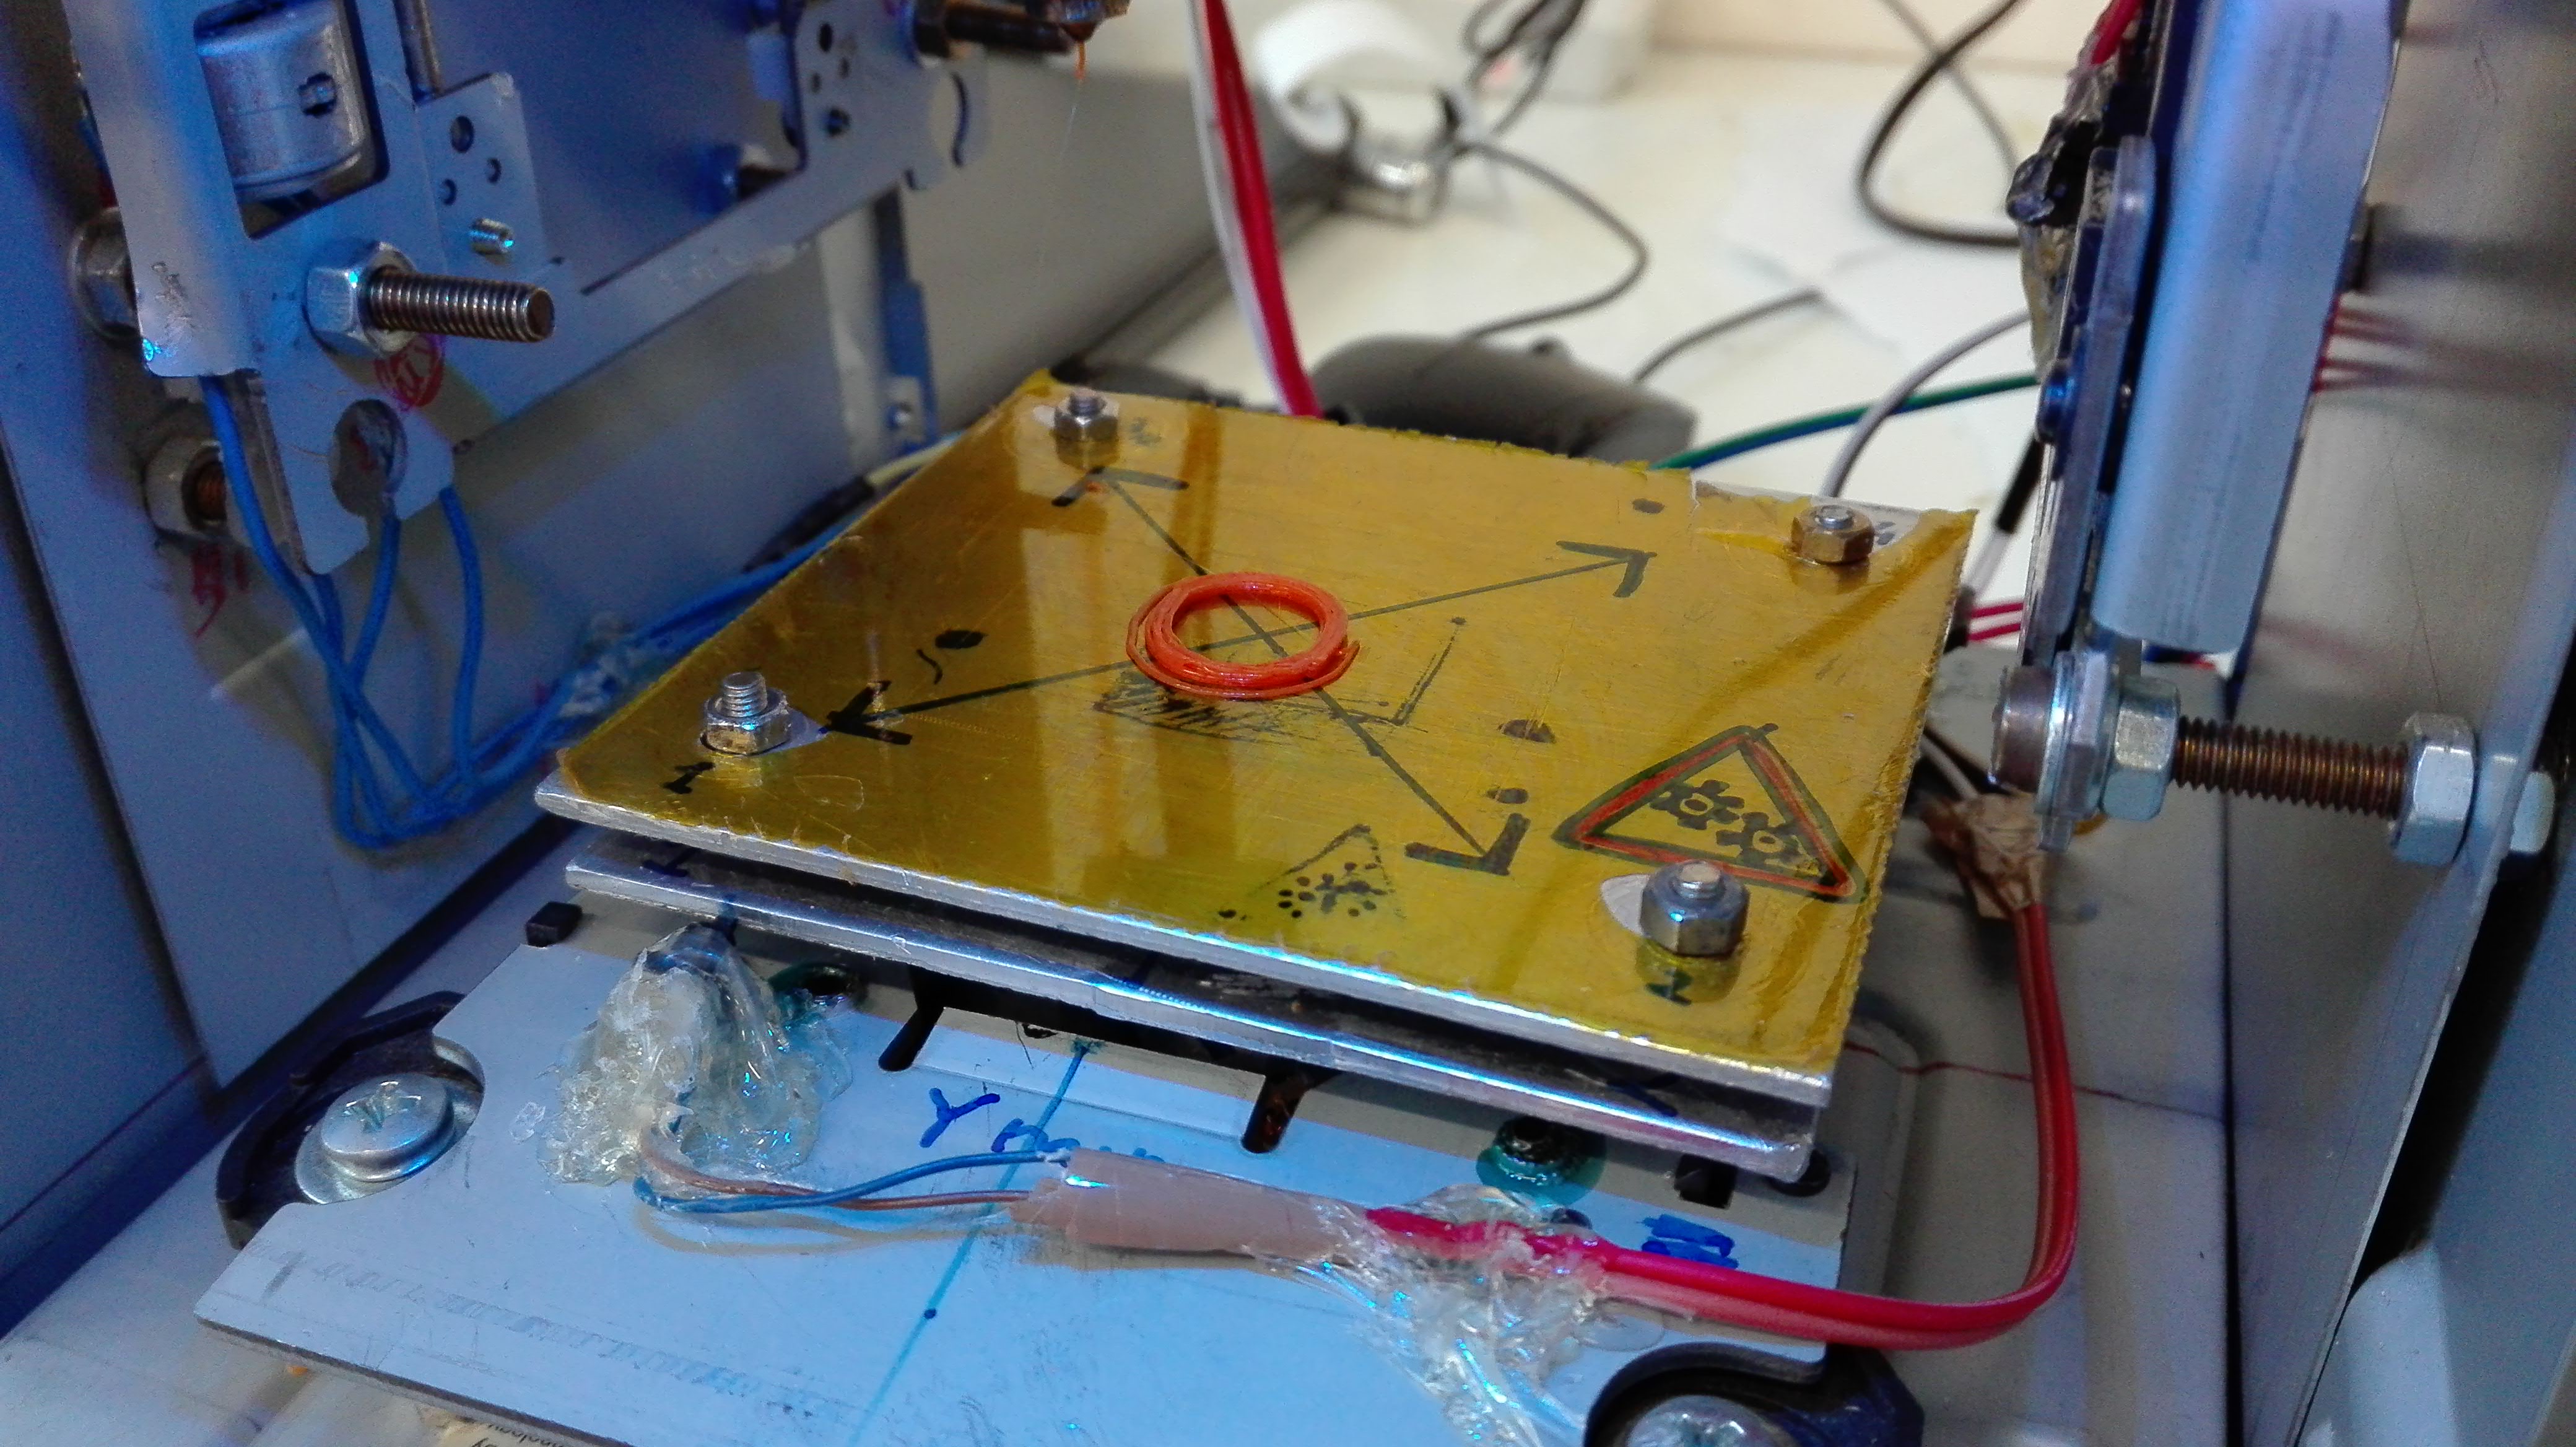
Let’s start with the frame, the frame is composed in three pieces, the base, and two vertical element that will hold the vertical Z axis mechanism. the frame is held together with 3mm nut and screws
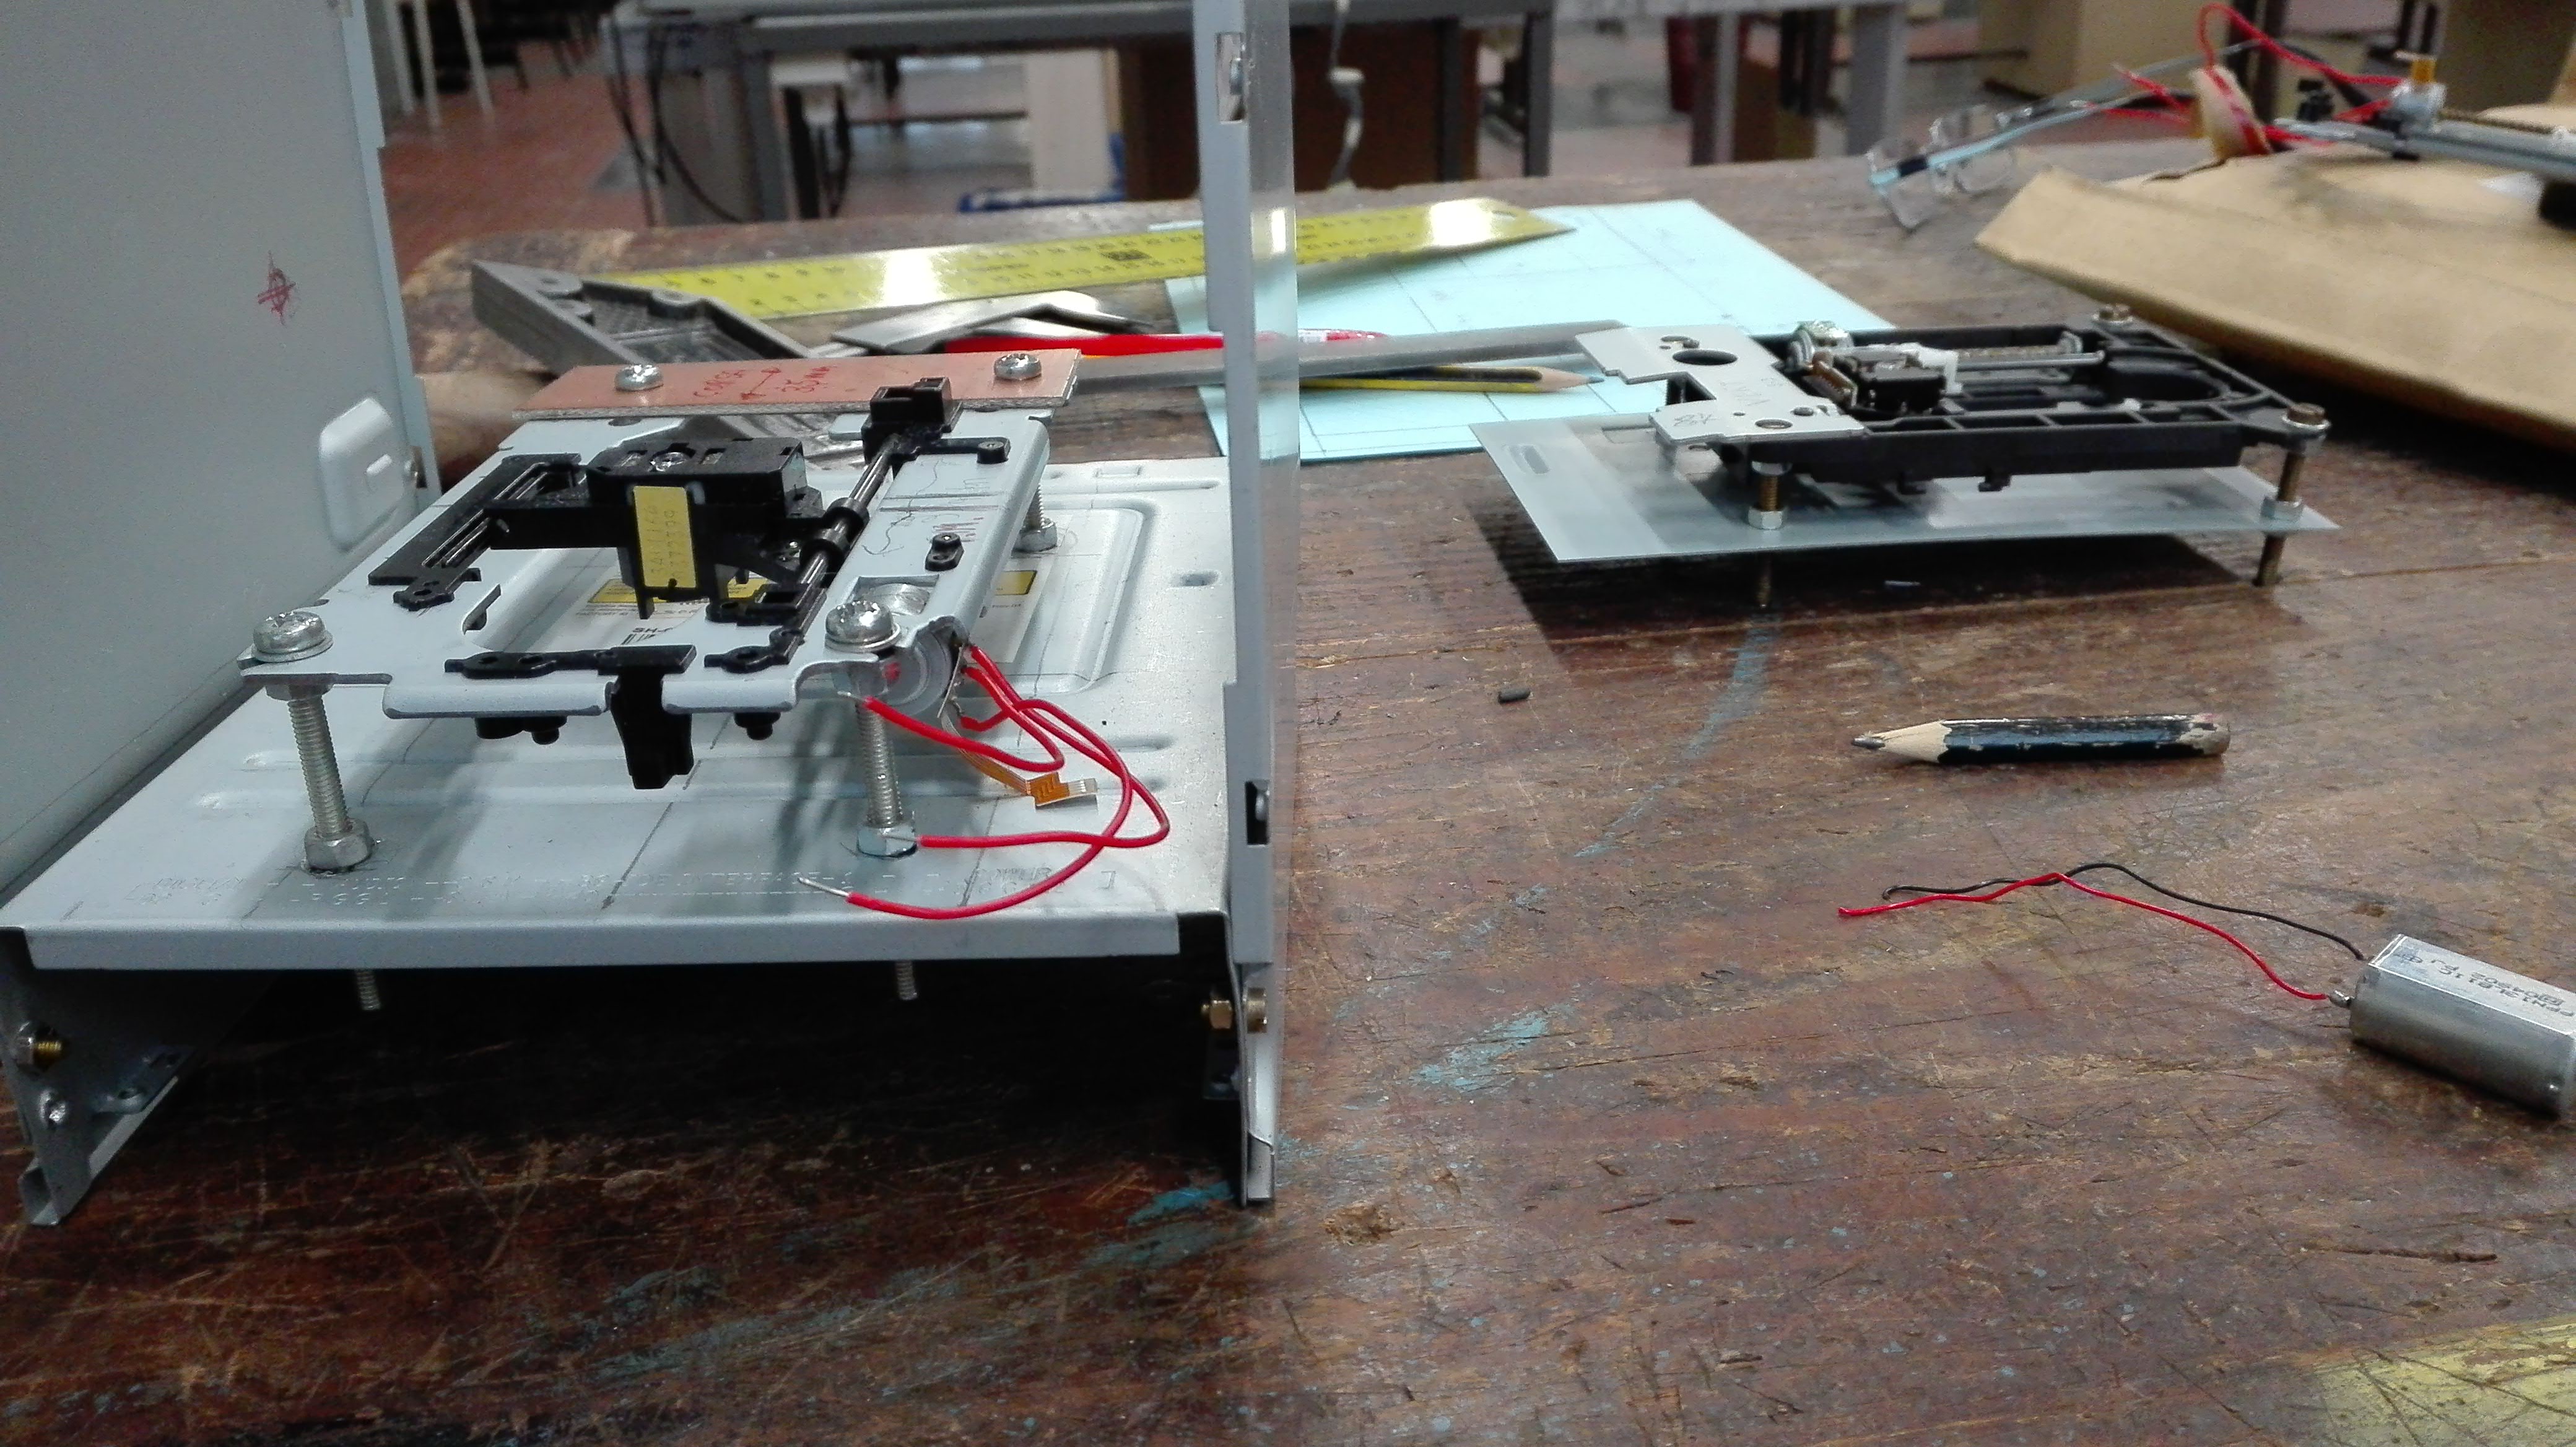
Later i mounted the Y axis on the frame by using 4mm nuts and screws. the Y axis is the one that moves the printing bed forward and backwards. The mechanism consist in a small stepper motor connected to a worm screw that prevously moved the laser pickup when was in the dvd drive
The next thing i did is preparing the Z axis mechanisms. In the right side on the picture below you can see one of the two Z axis mechanism
In the picture below i mounted Z axis mechanisms to the frame and setupped the test bench to try if motors work as expected
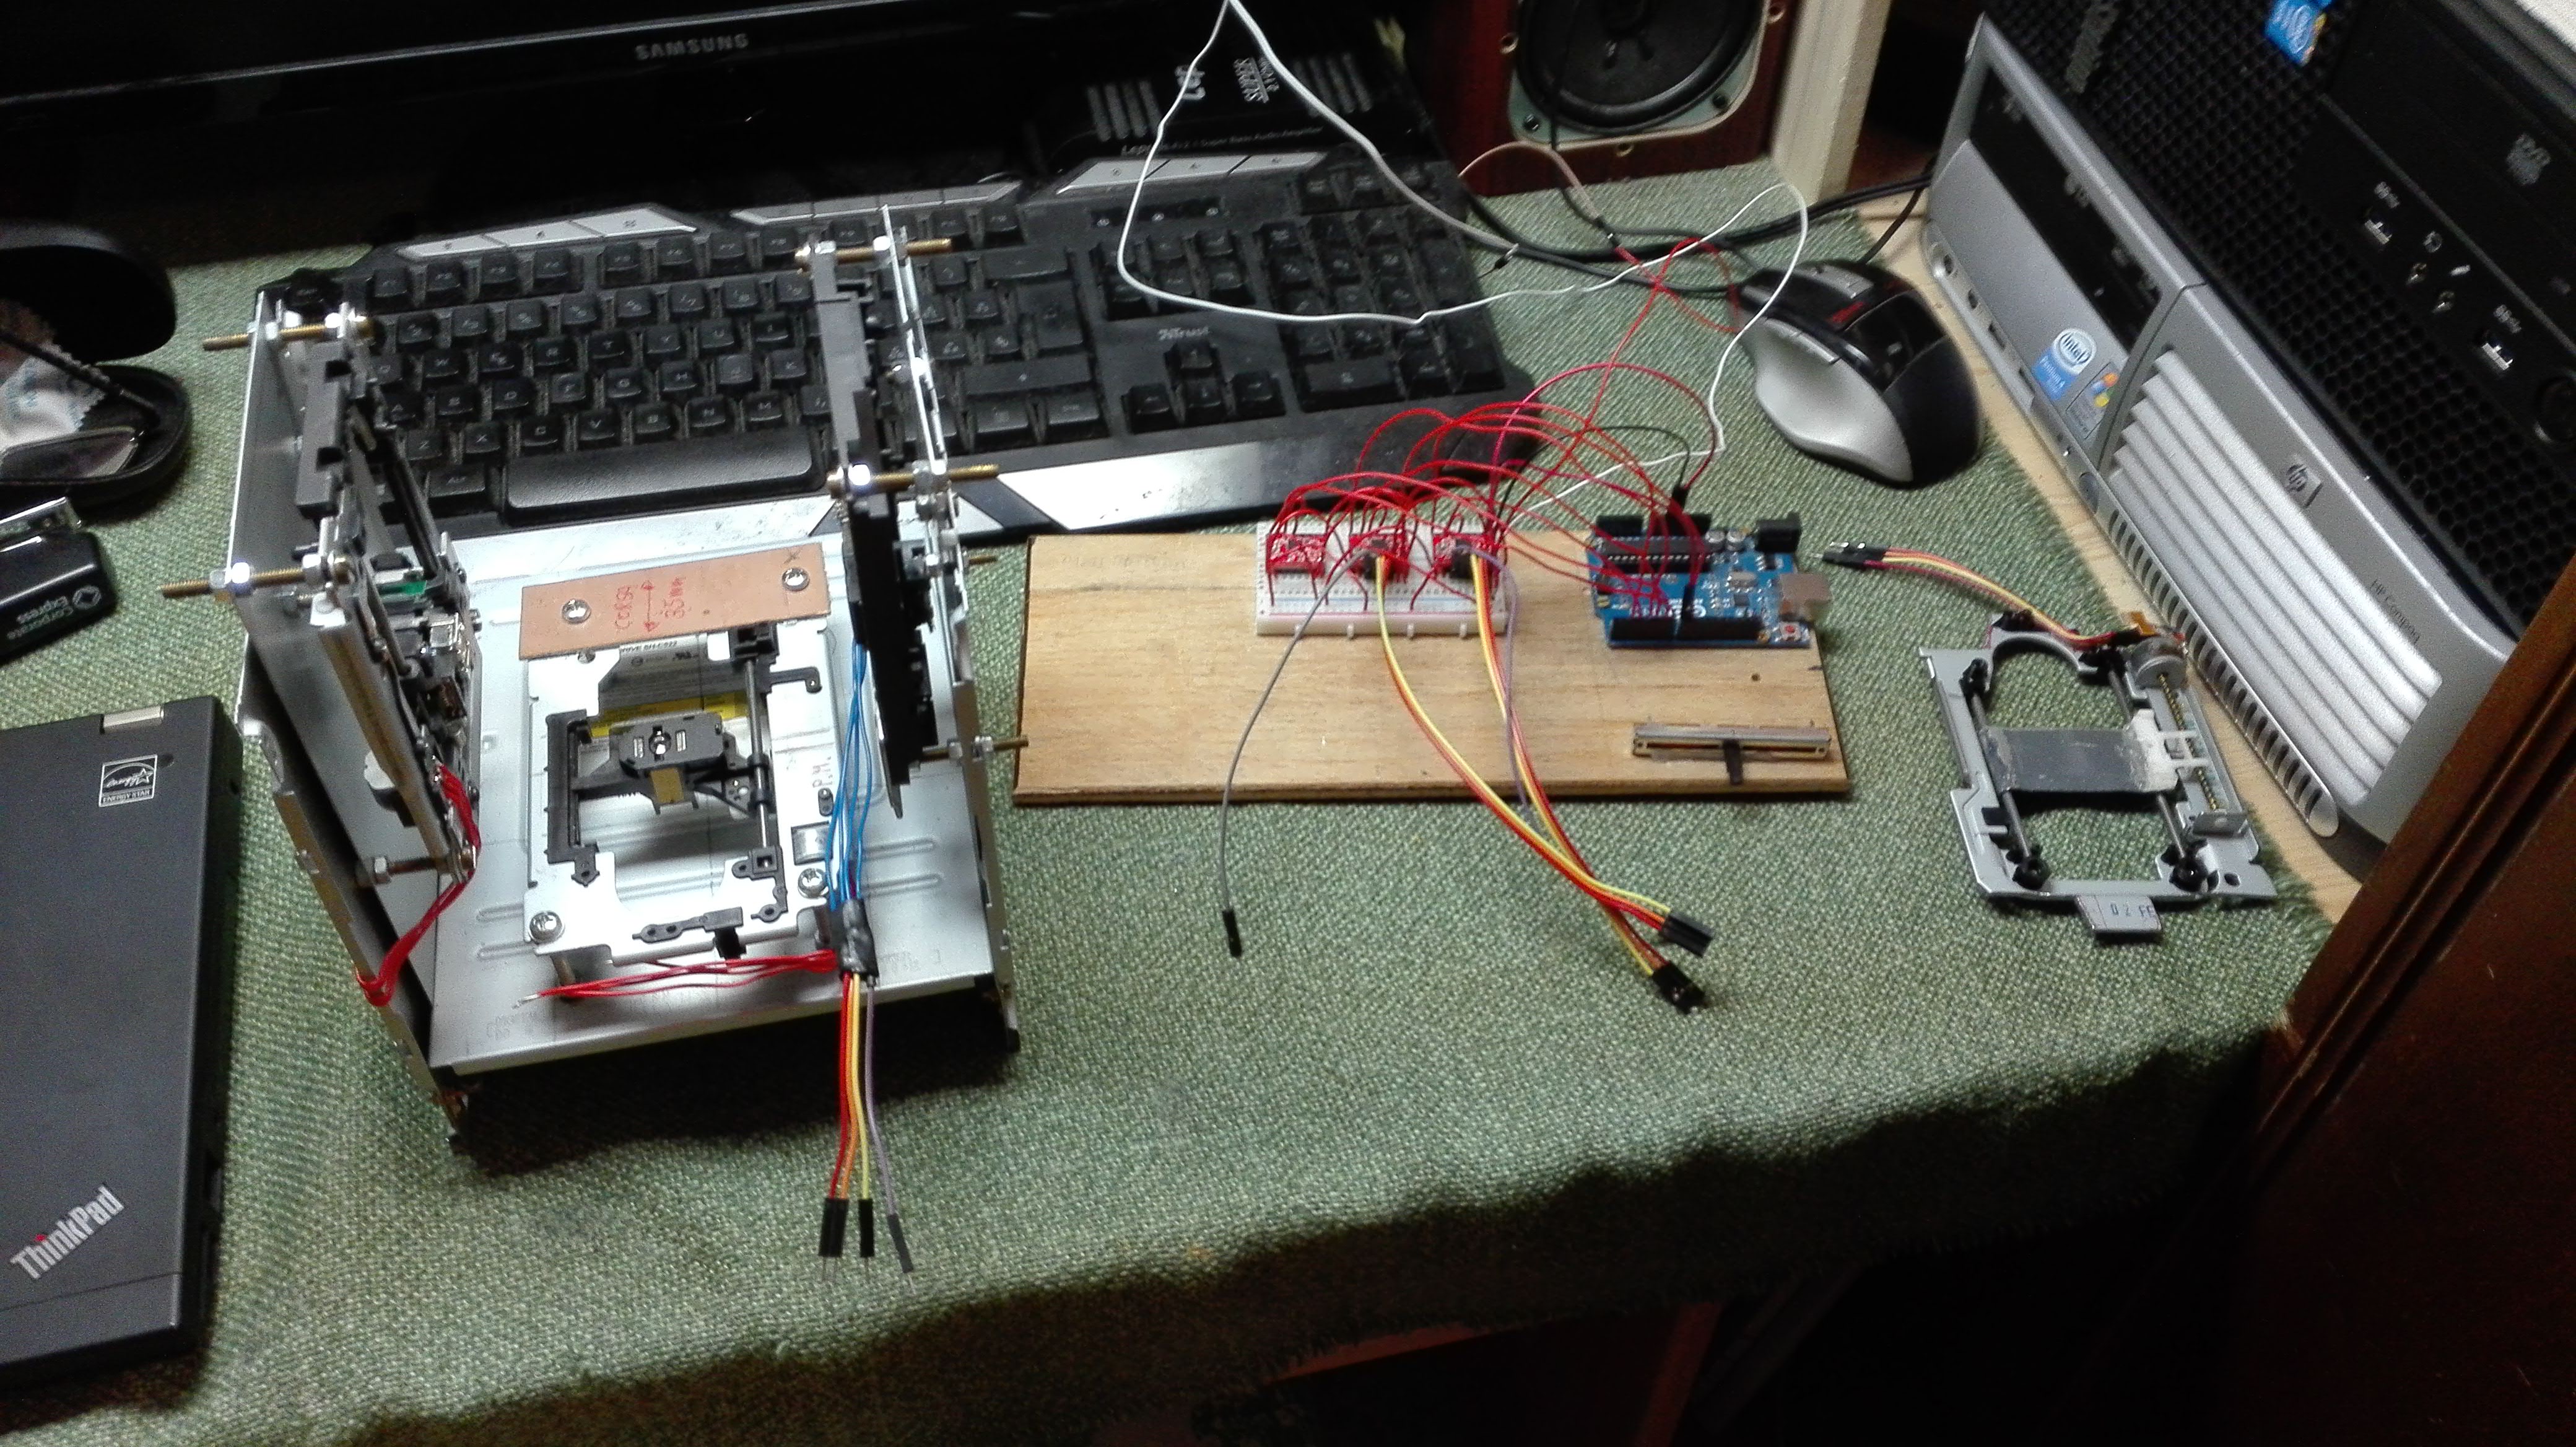
But there is a problem: the Z-axis motors do not have enough force to pull up the heavy X-axis, so I had to make a frame for the X-axis out of plastic by printing it with the school printer. For other reasons that I do not remember well I had to have it re-printed by a friend of mine. I also added wood base and L brackets to keep the structure more rigid
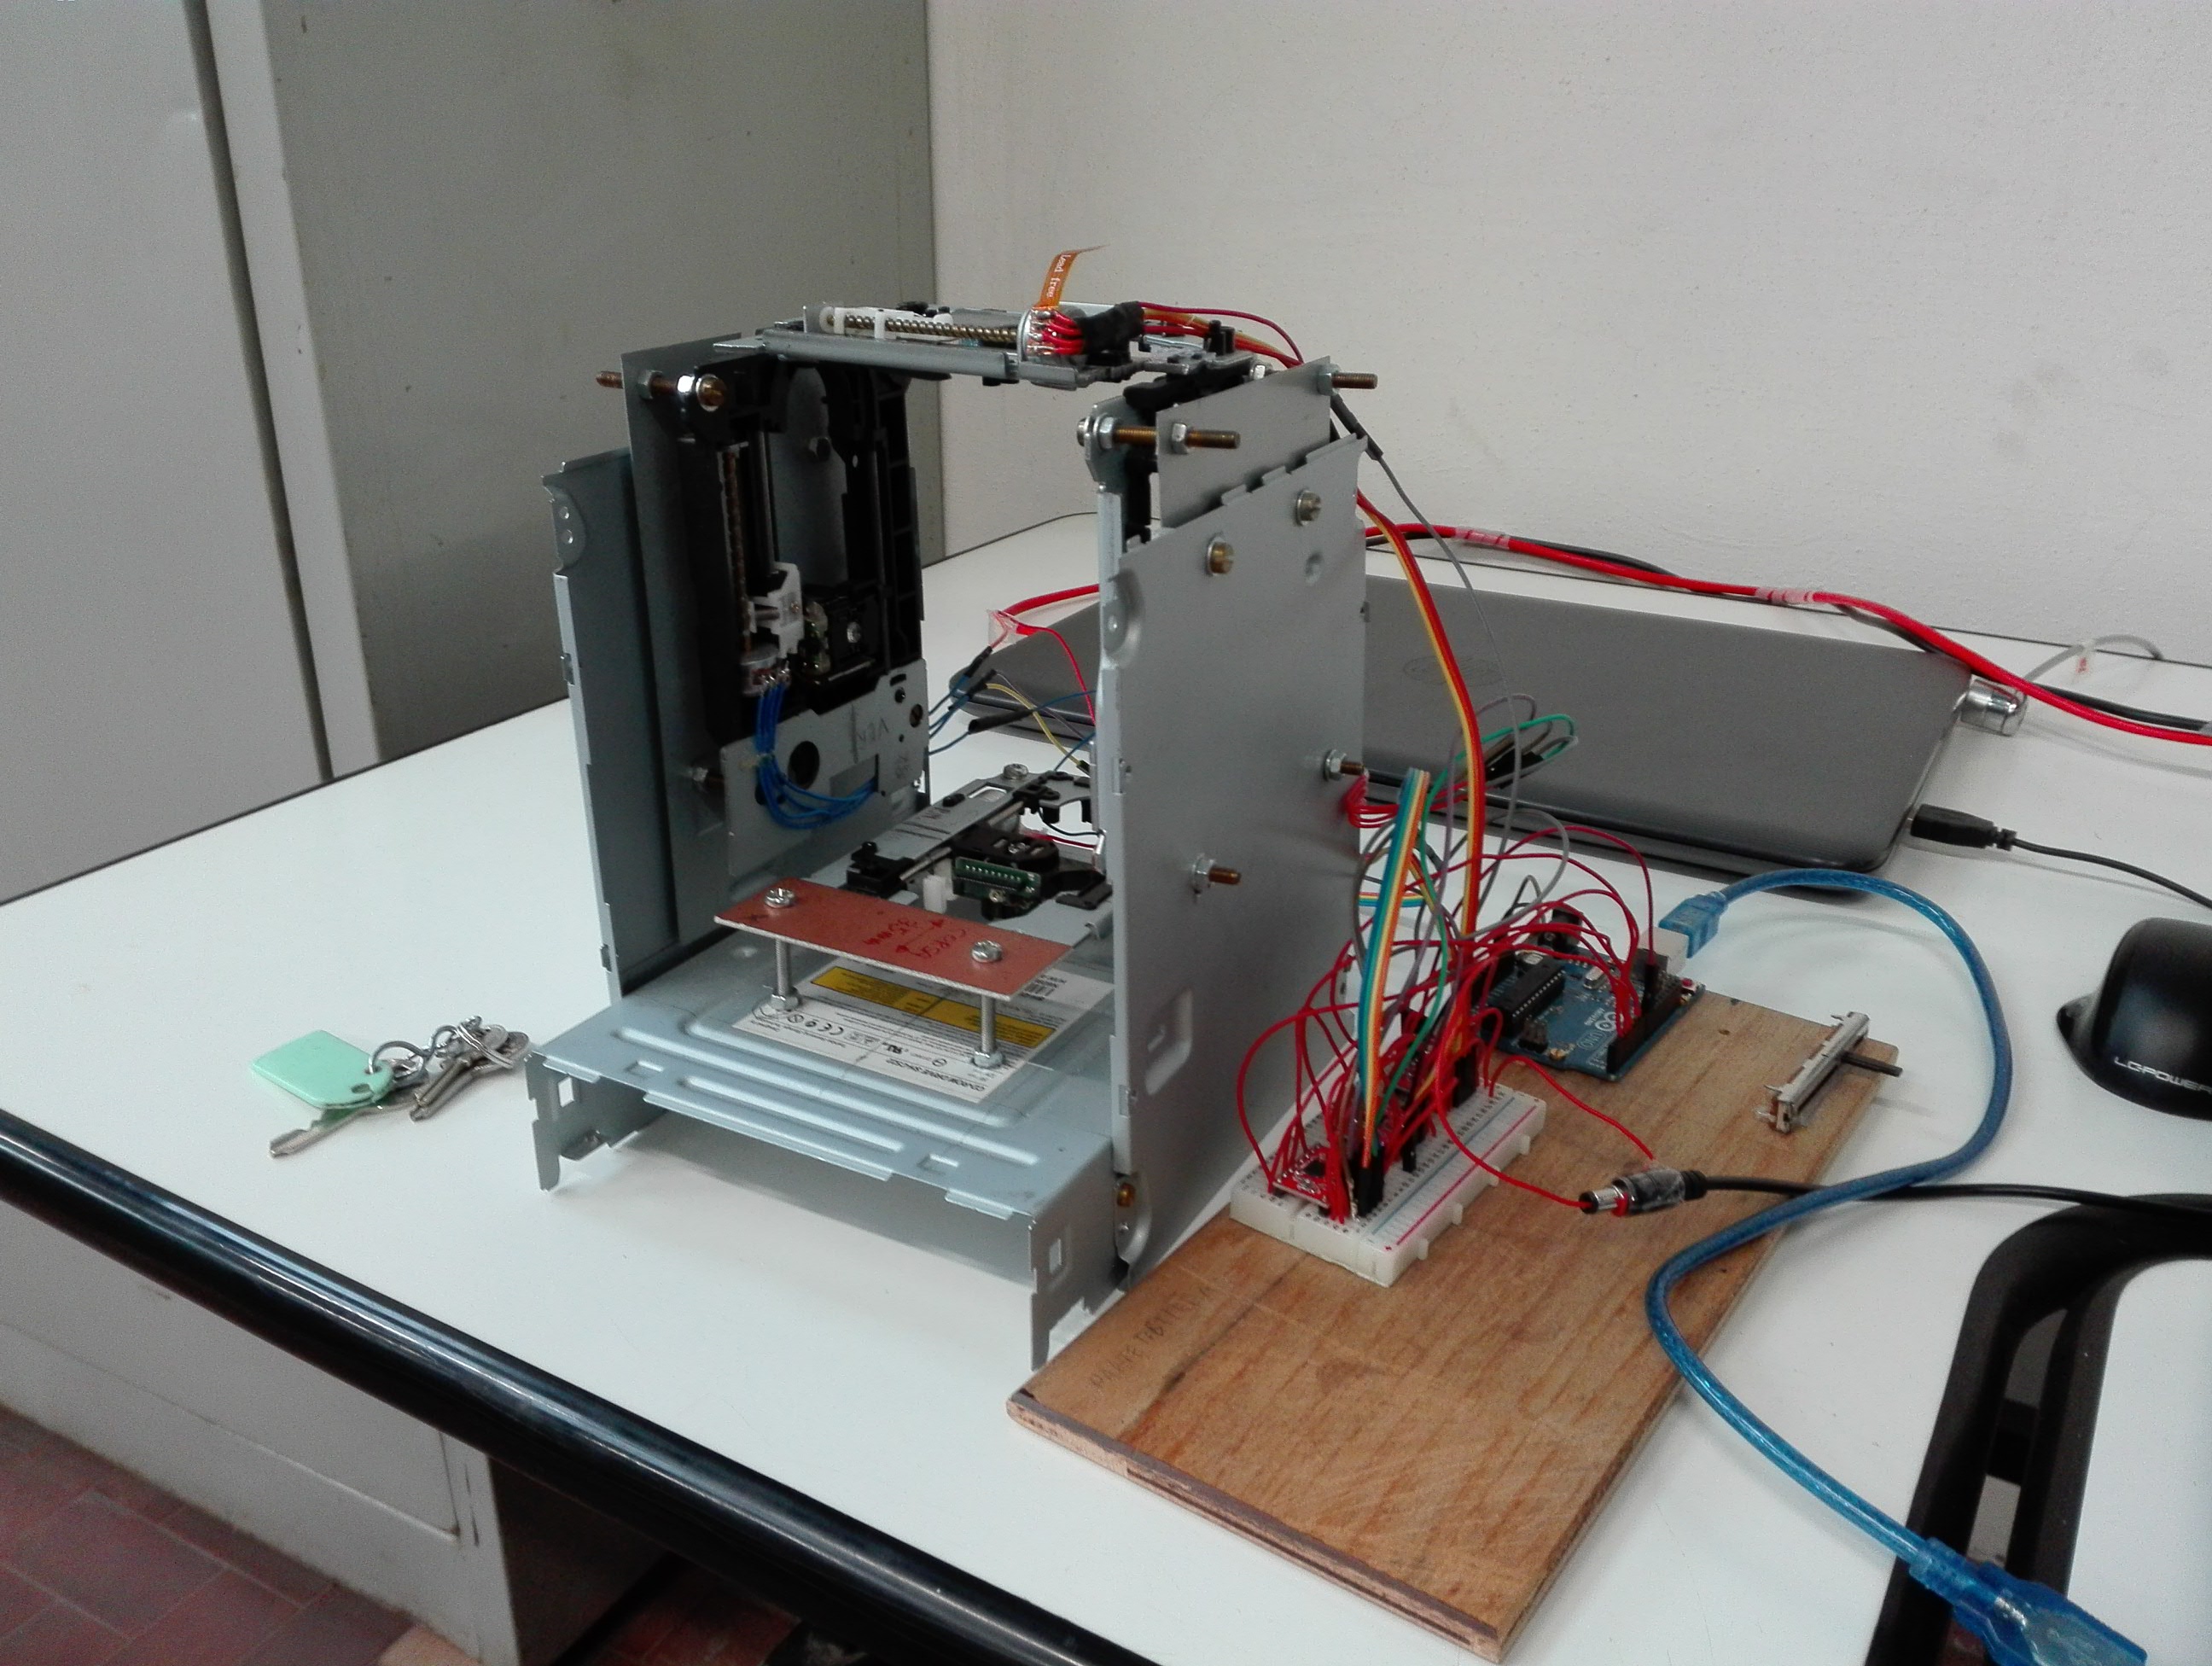
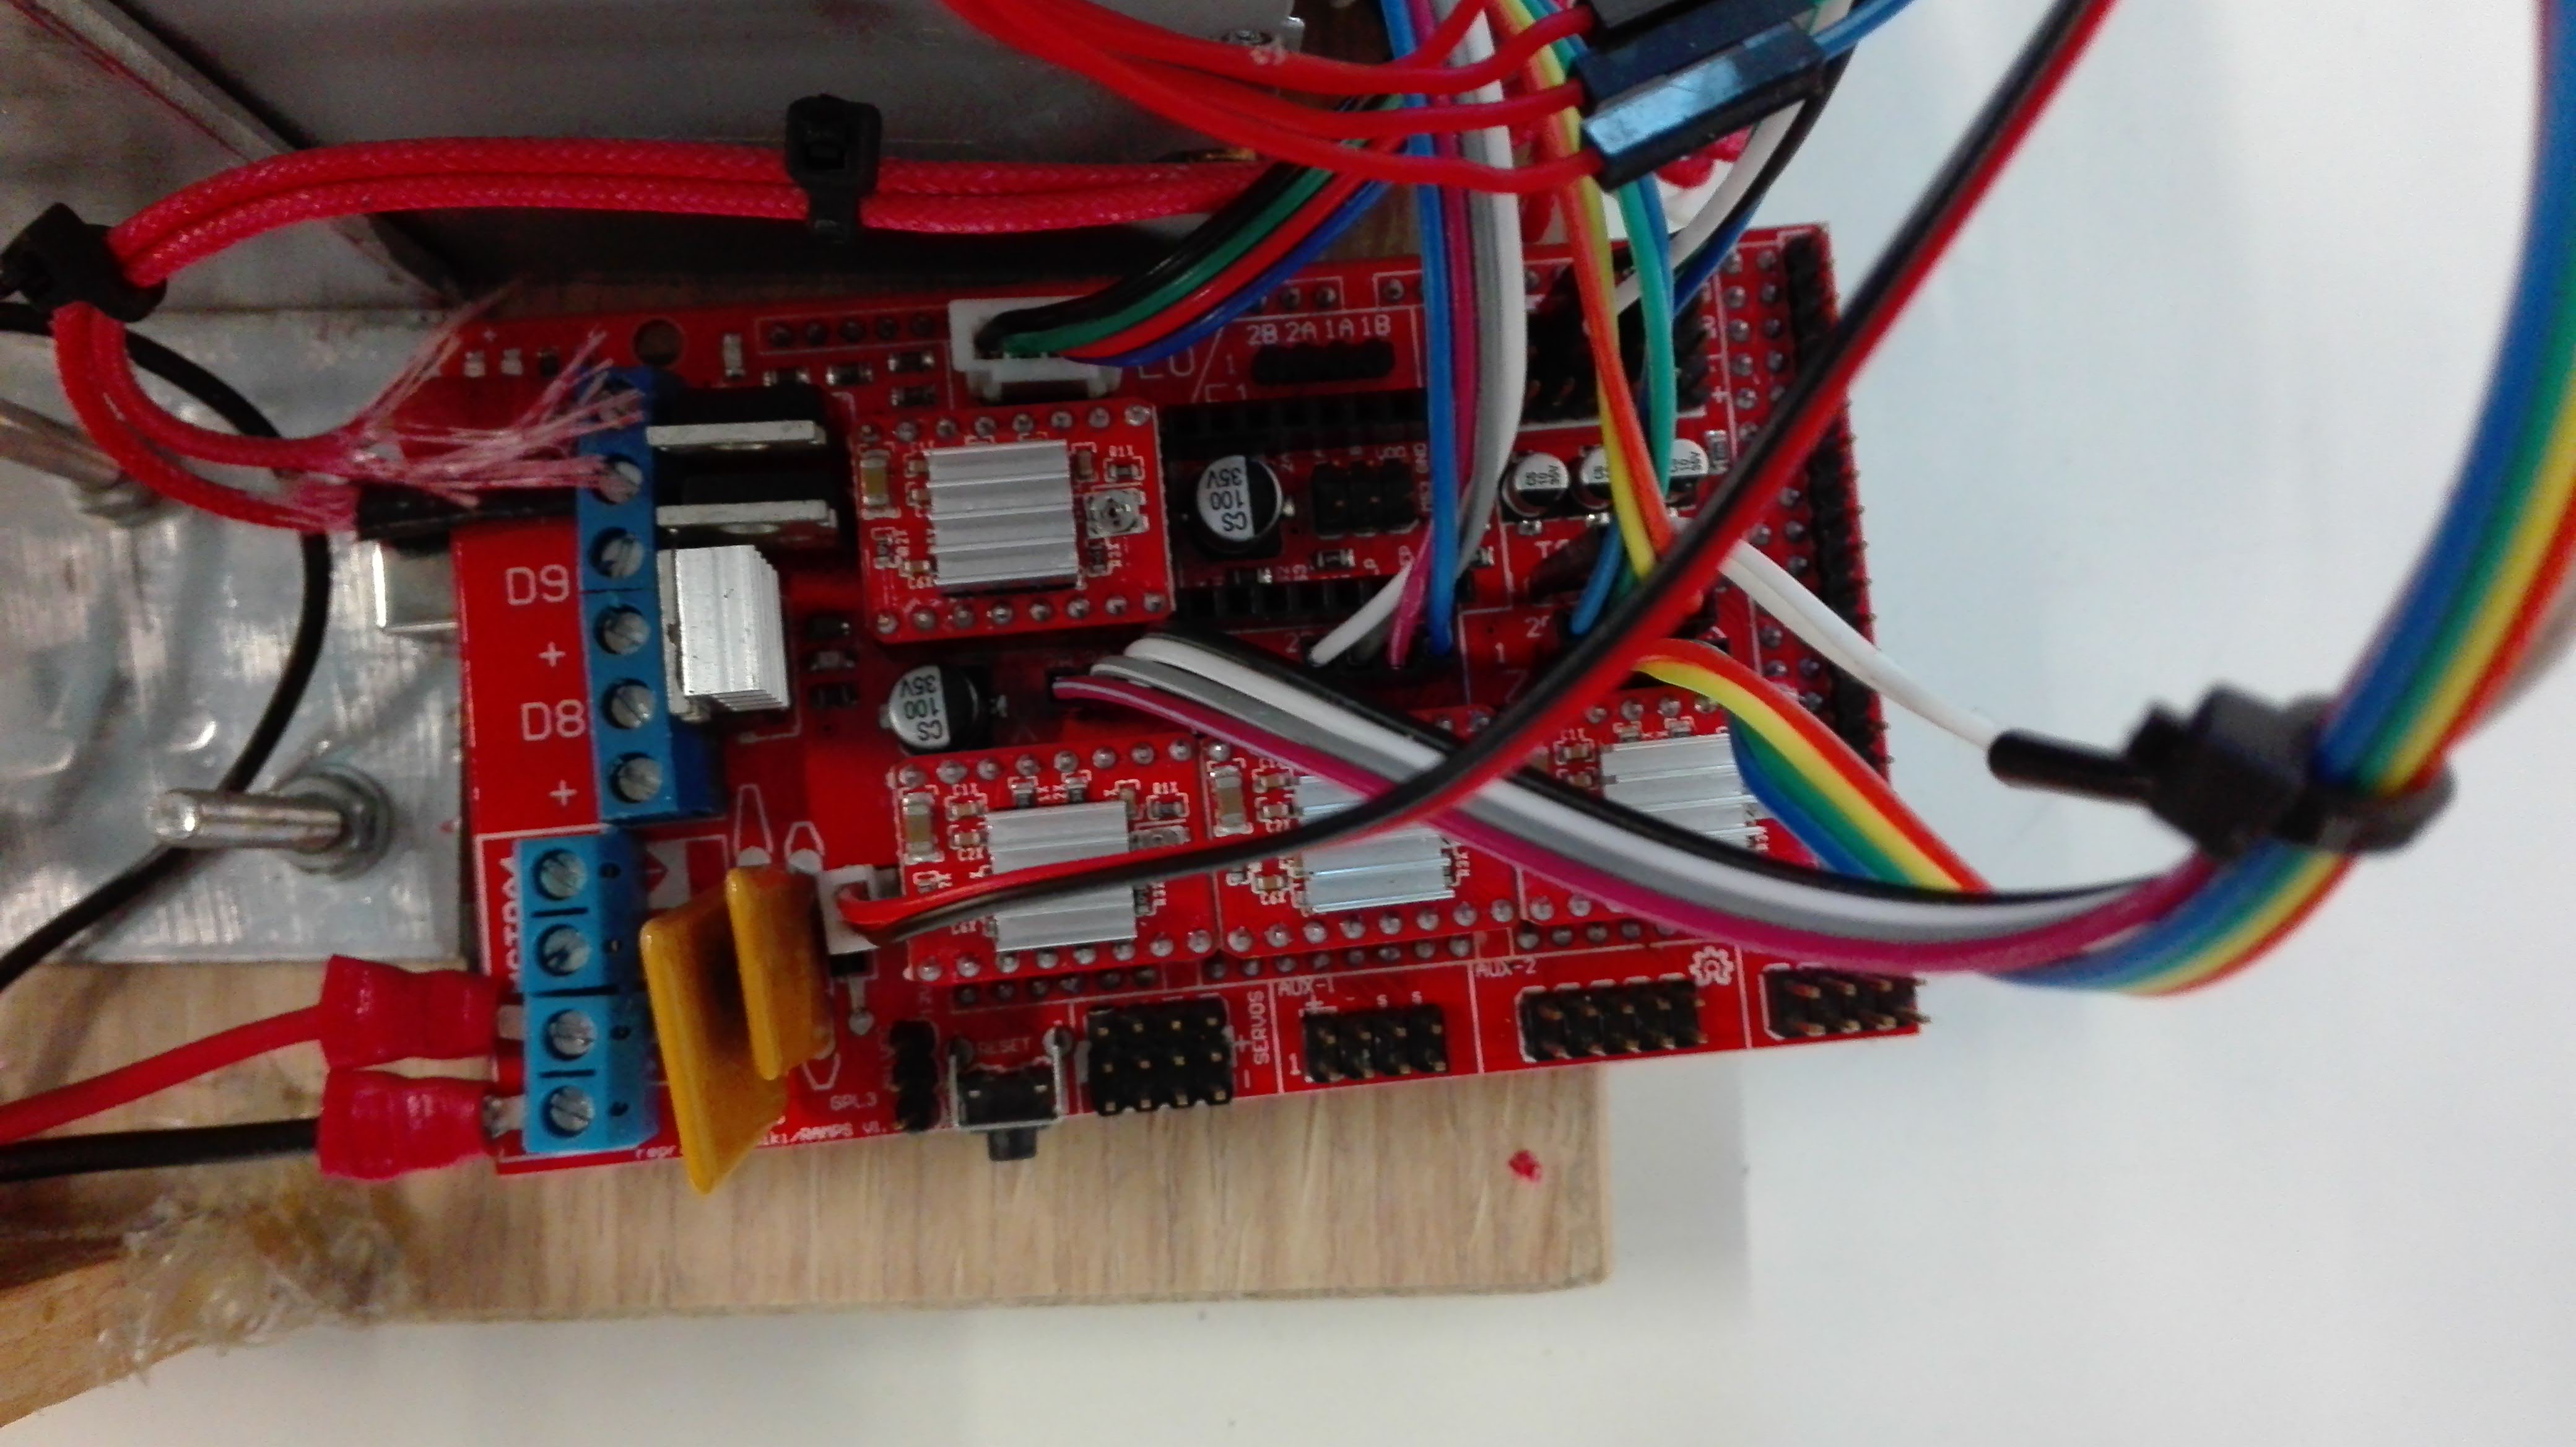
I also started to work on the firmware from scratch to implement the extrusor. this decision will discarded later because i needed to have more I/O ports by choosing arduino mega, this upgrade made possible to use the open-source Marlin firmware
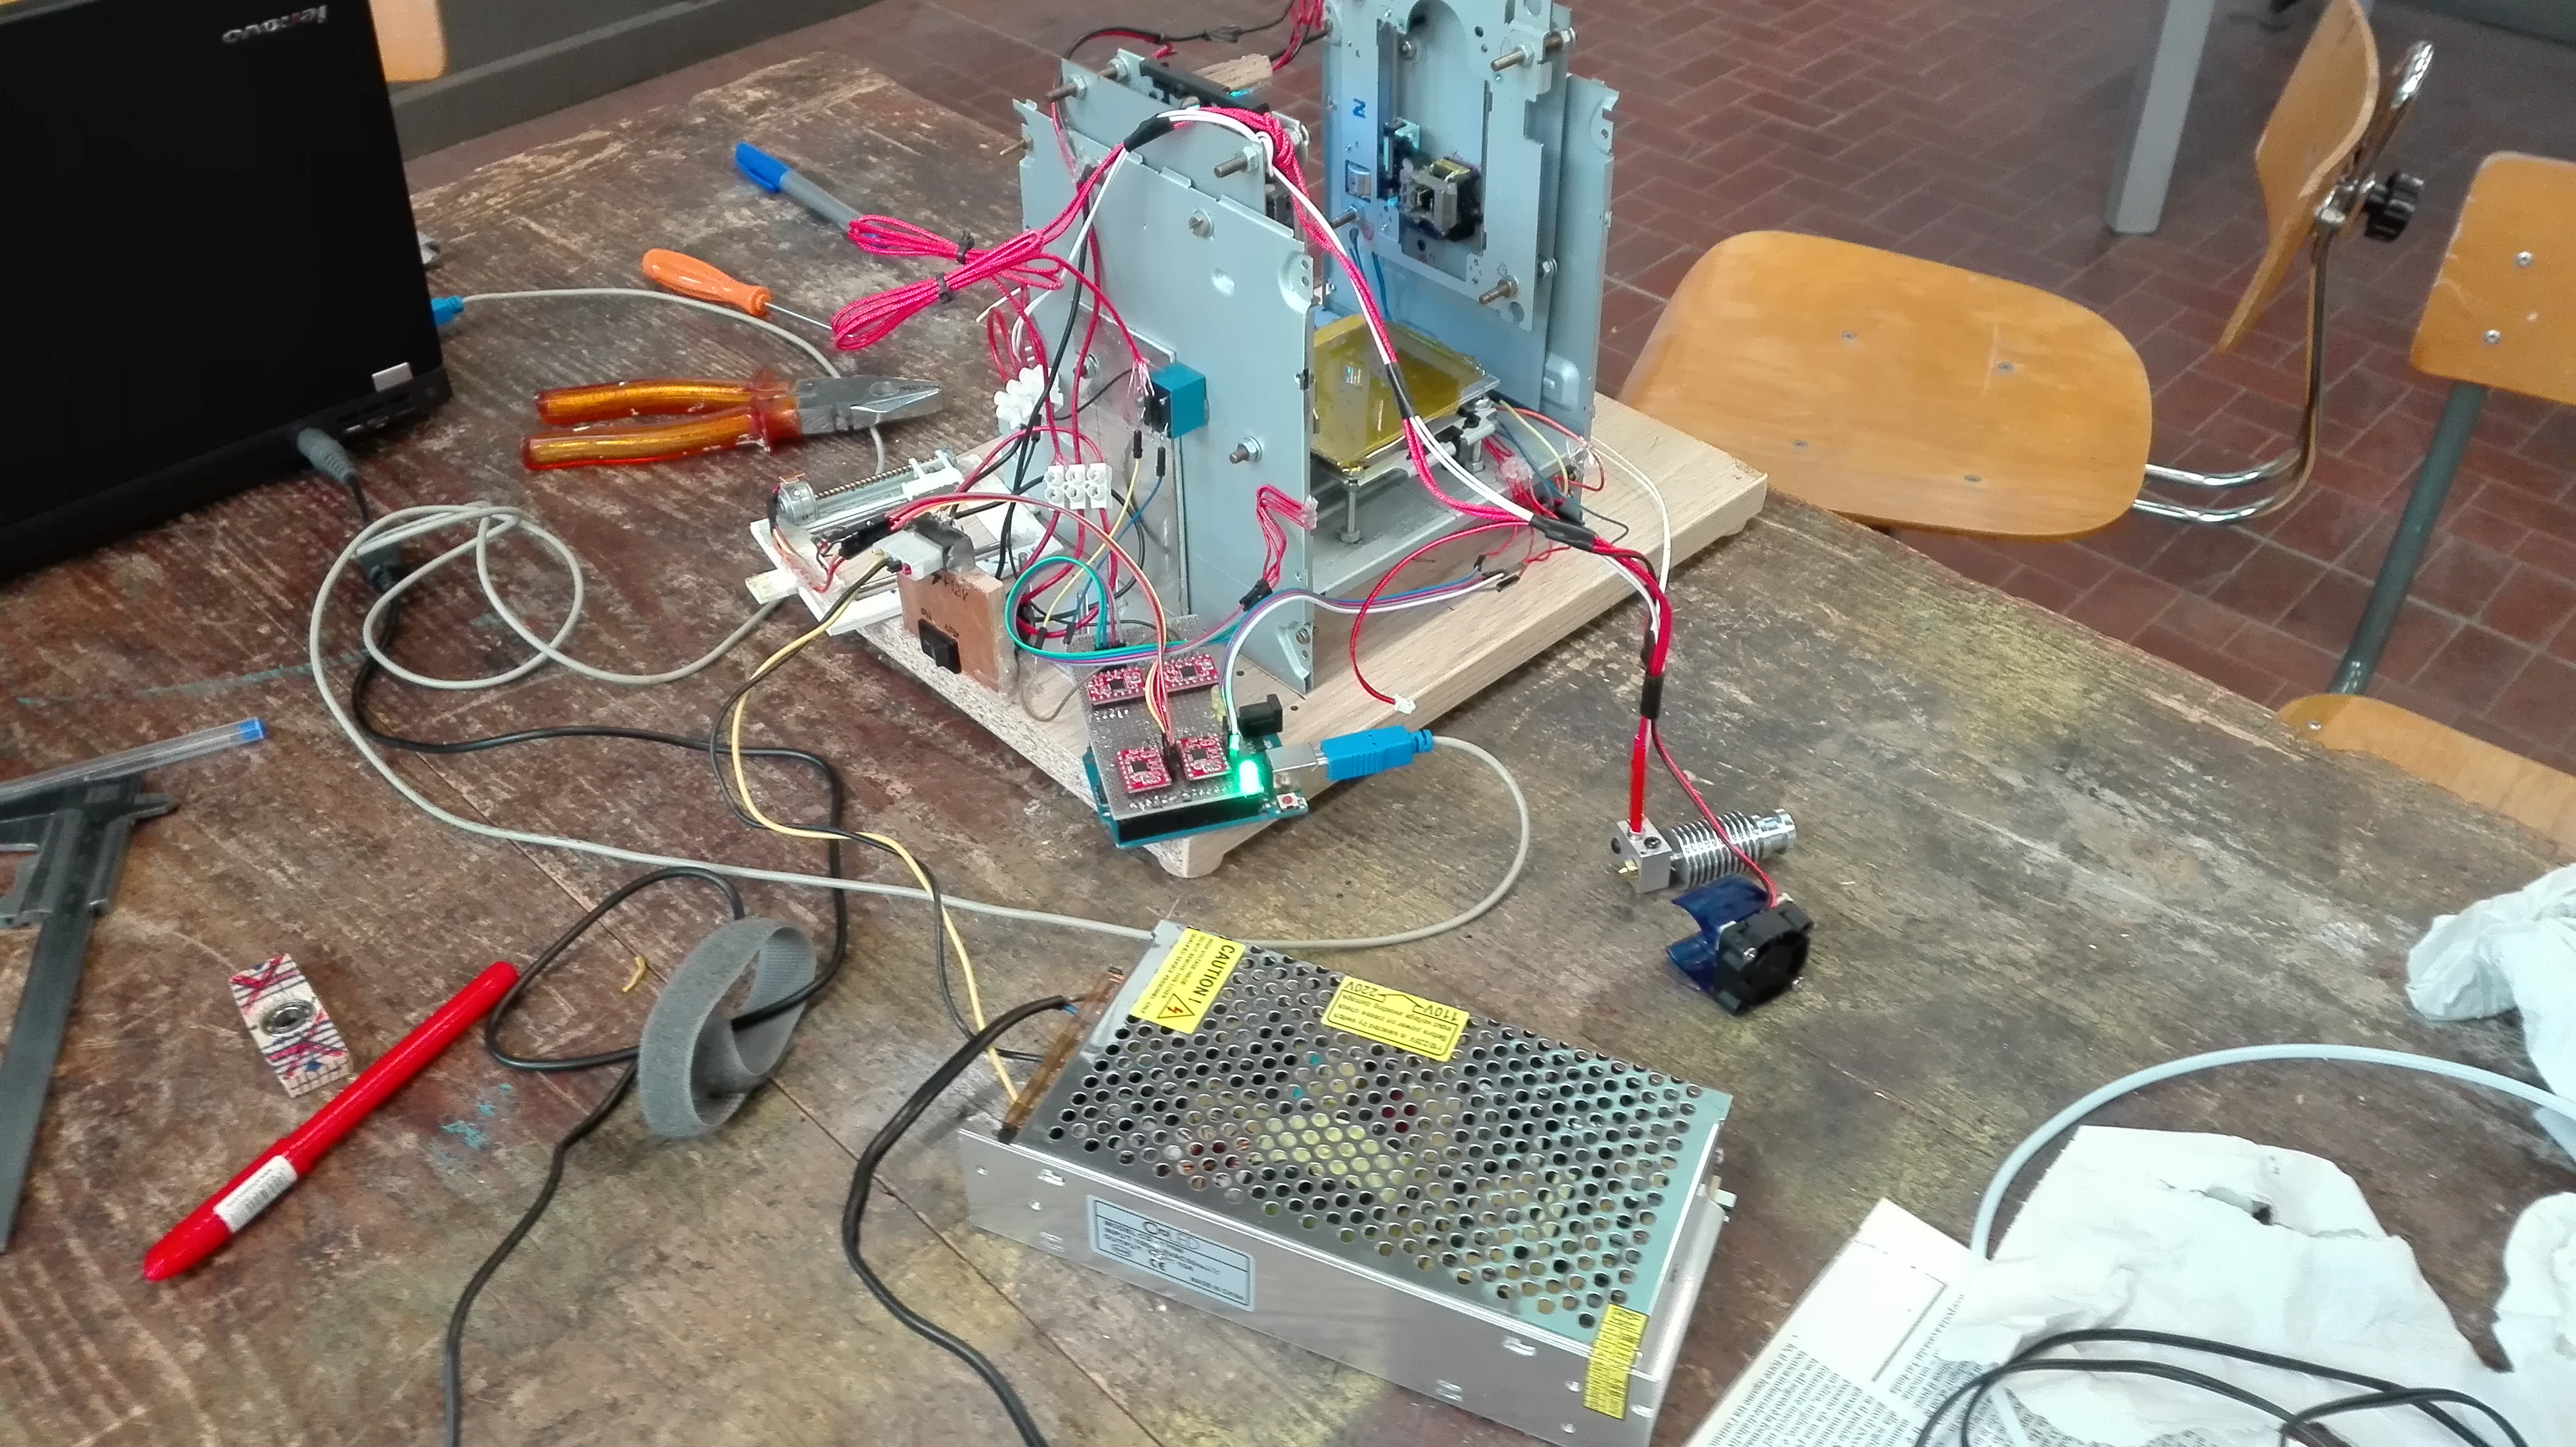
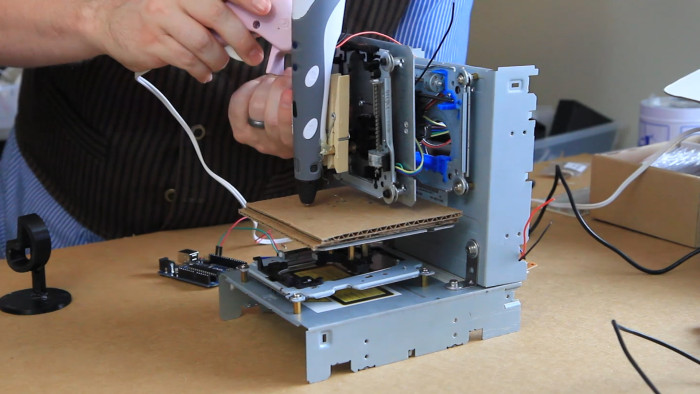
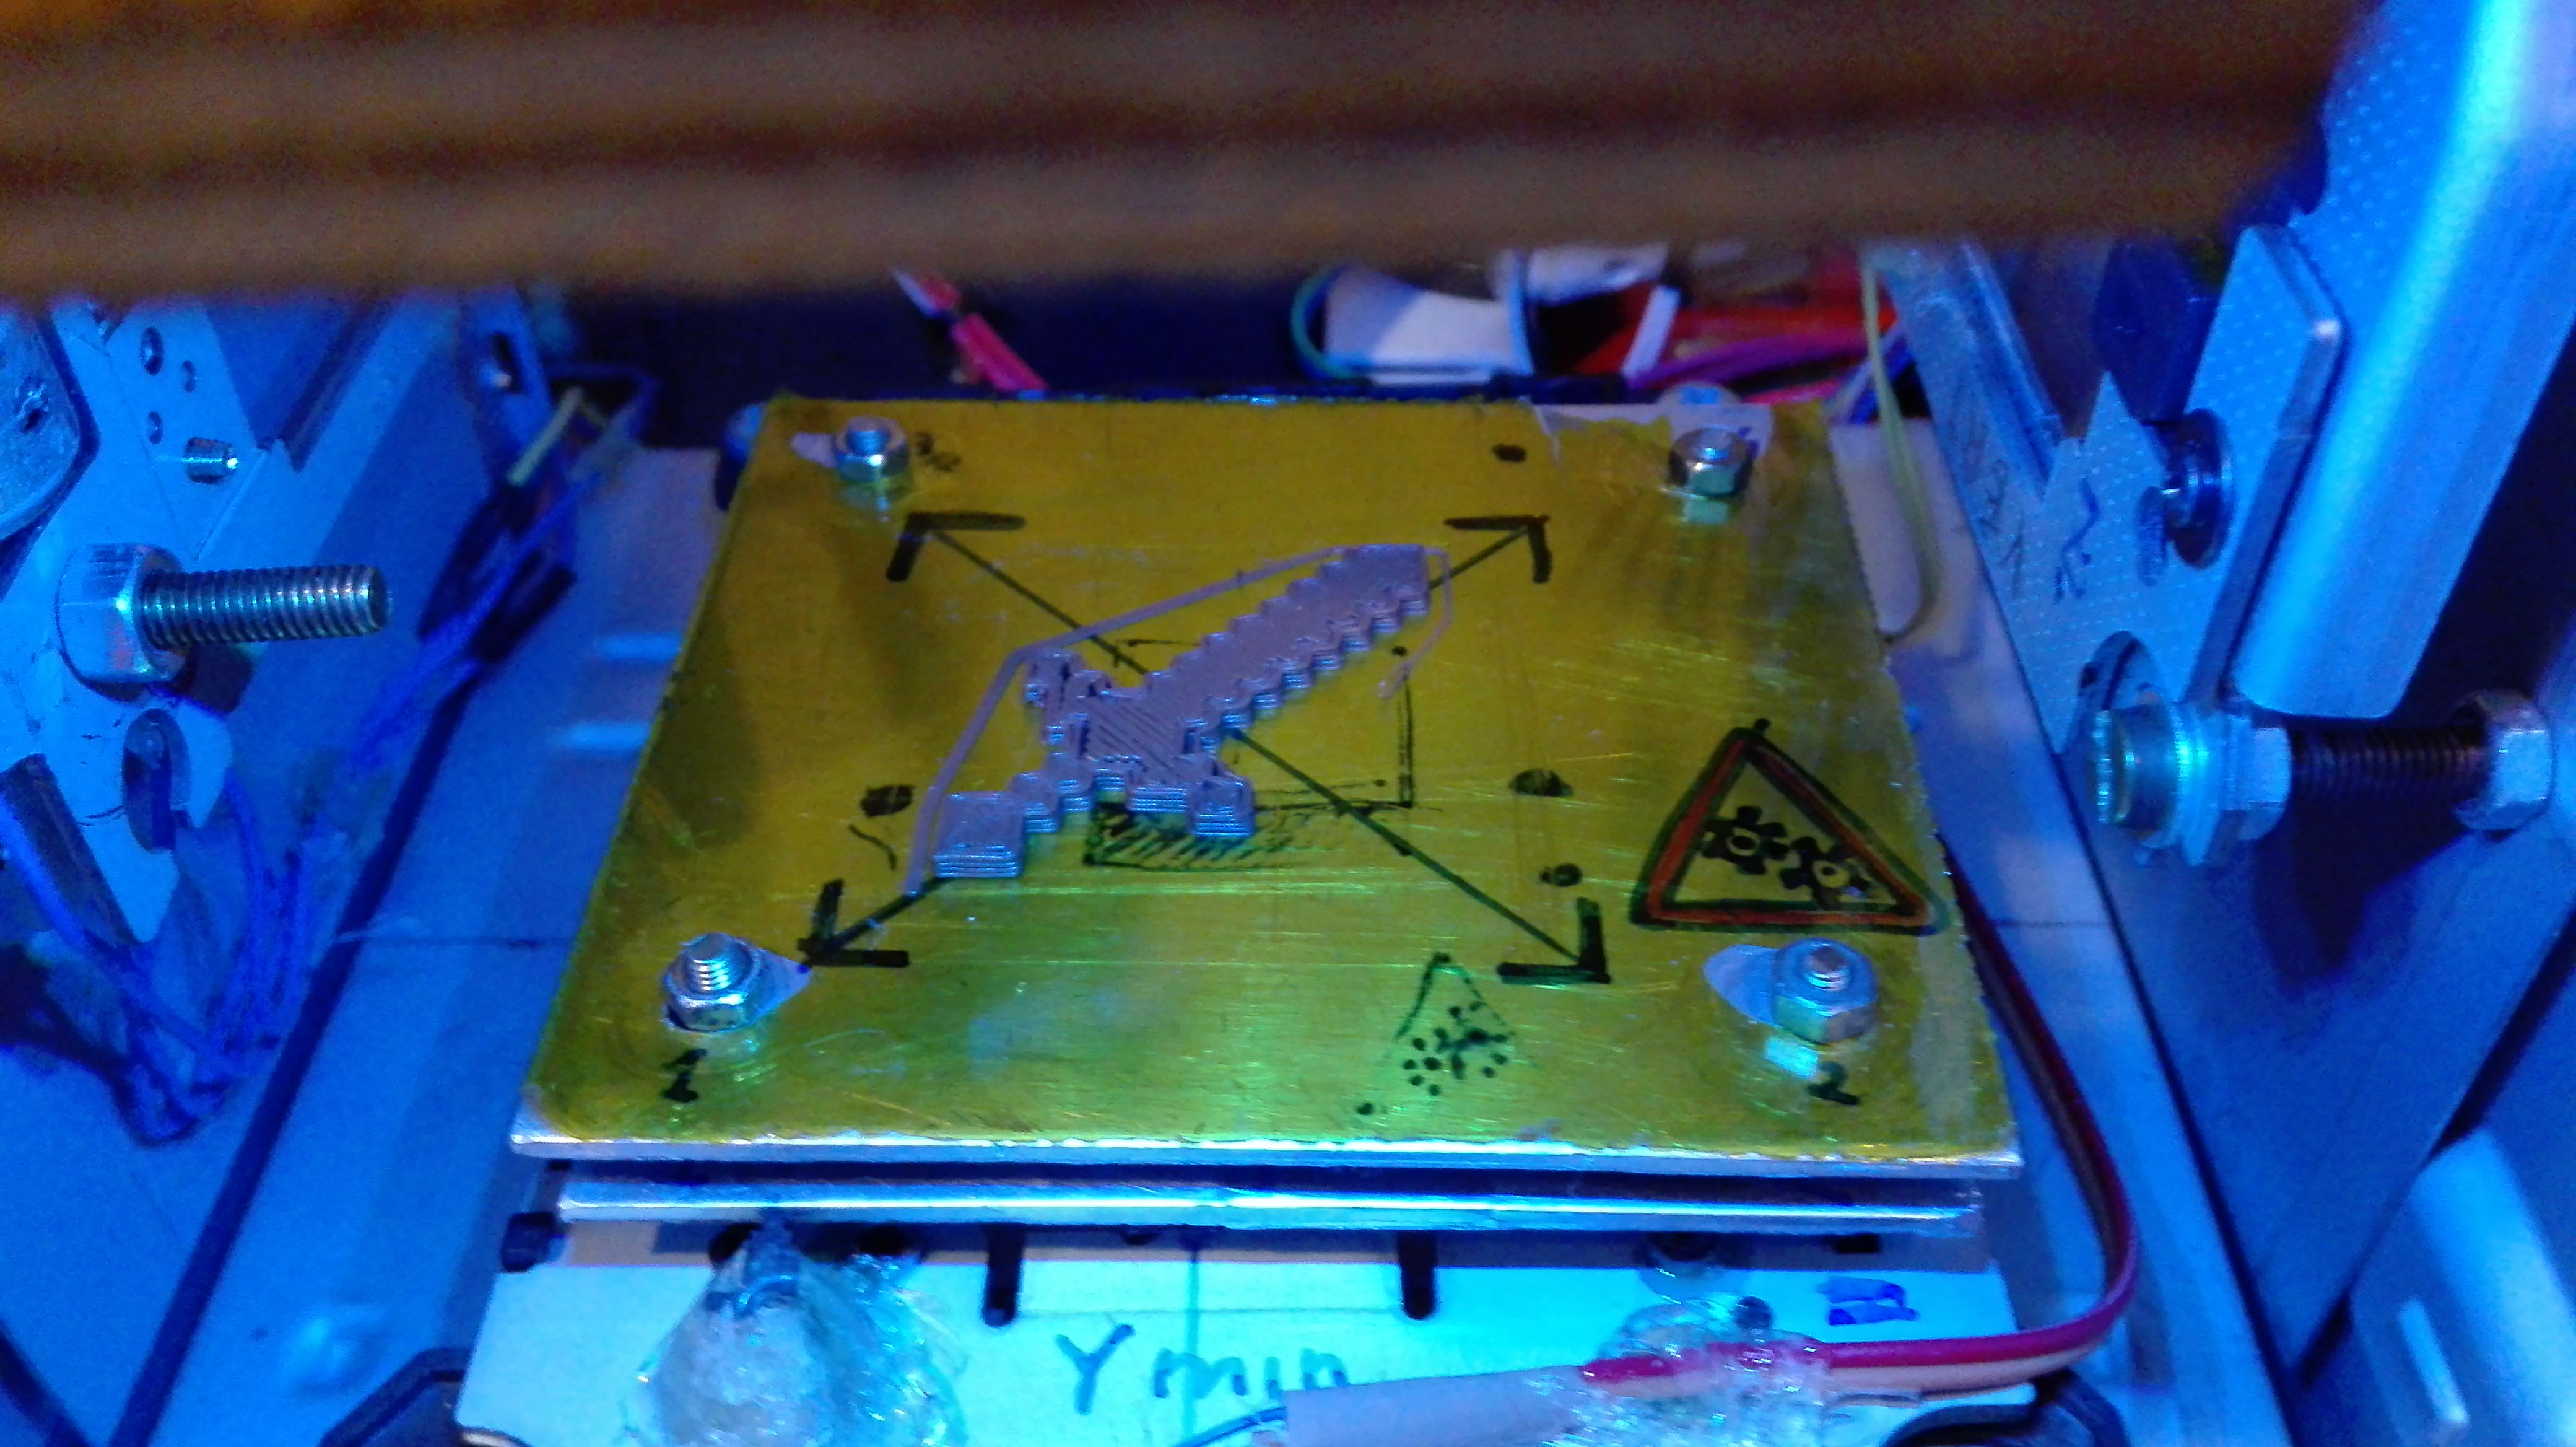
Mounted the extrusor and their Nema 17 motor for feeding, the printed now can potentially print something

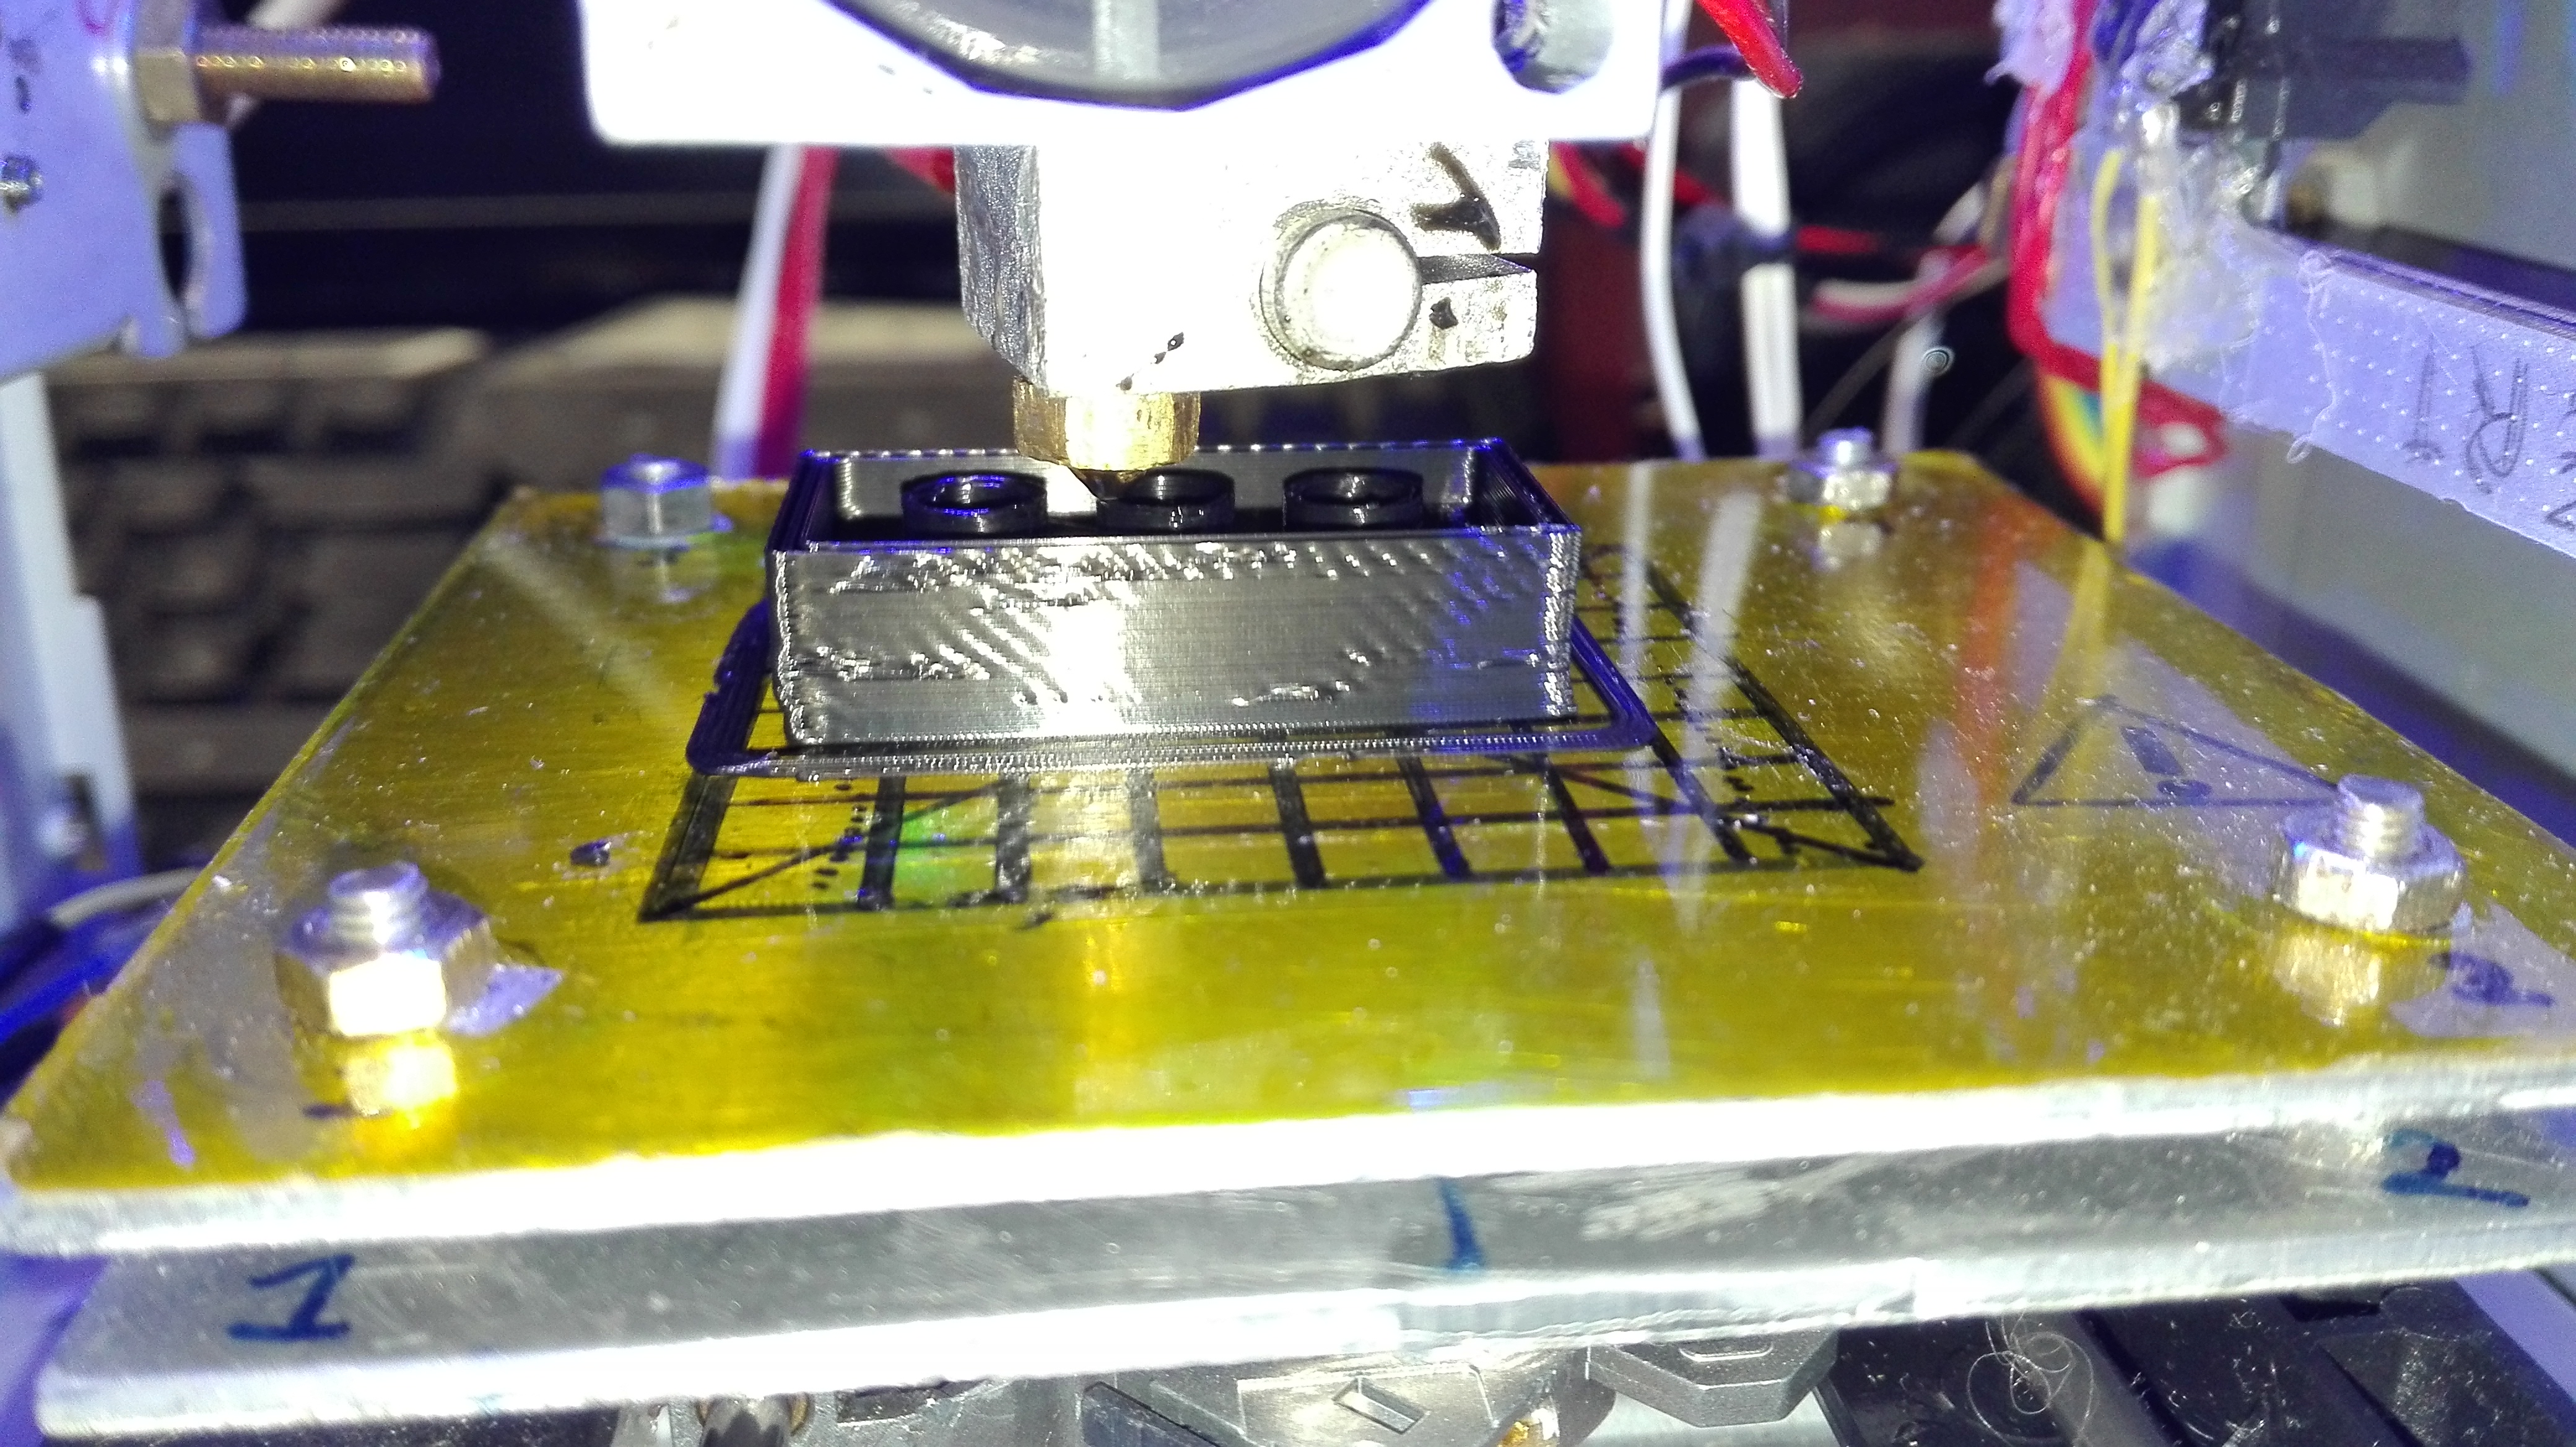
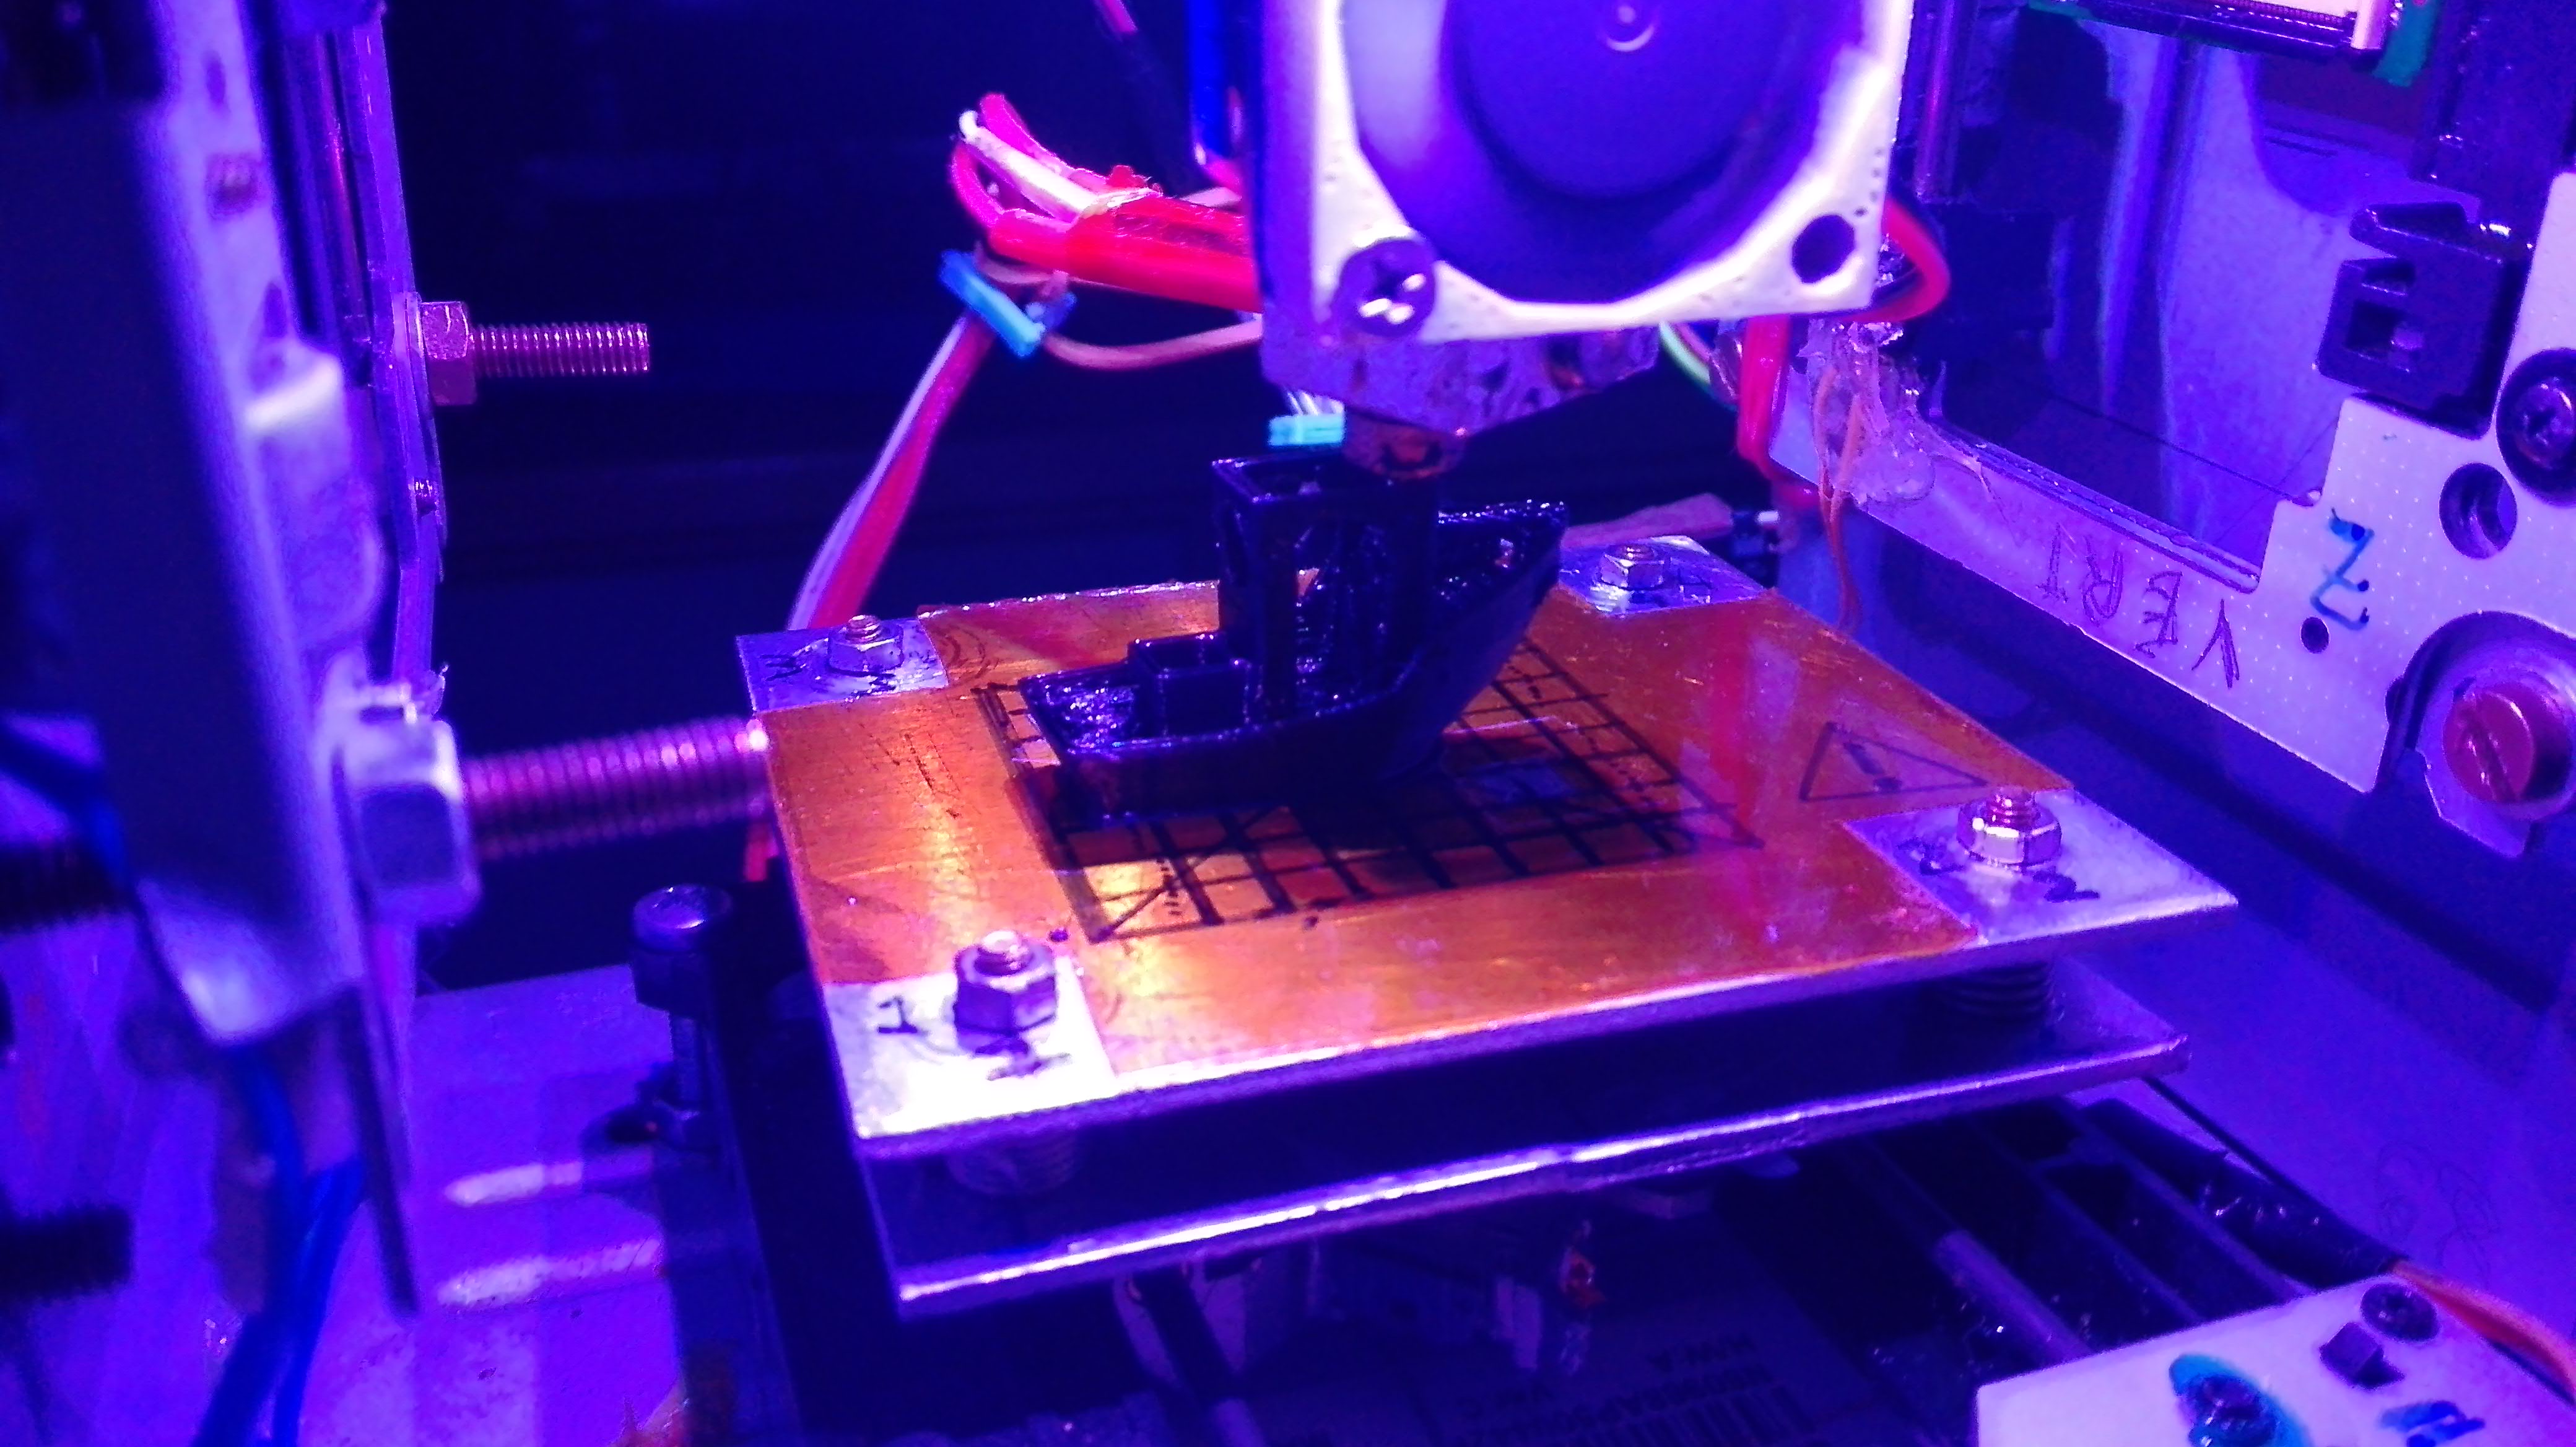
Here below the first prints, considering the nature of this printer the quality is pretty nice, but some fine tuning improved considerably the print quality
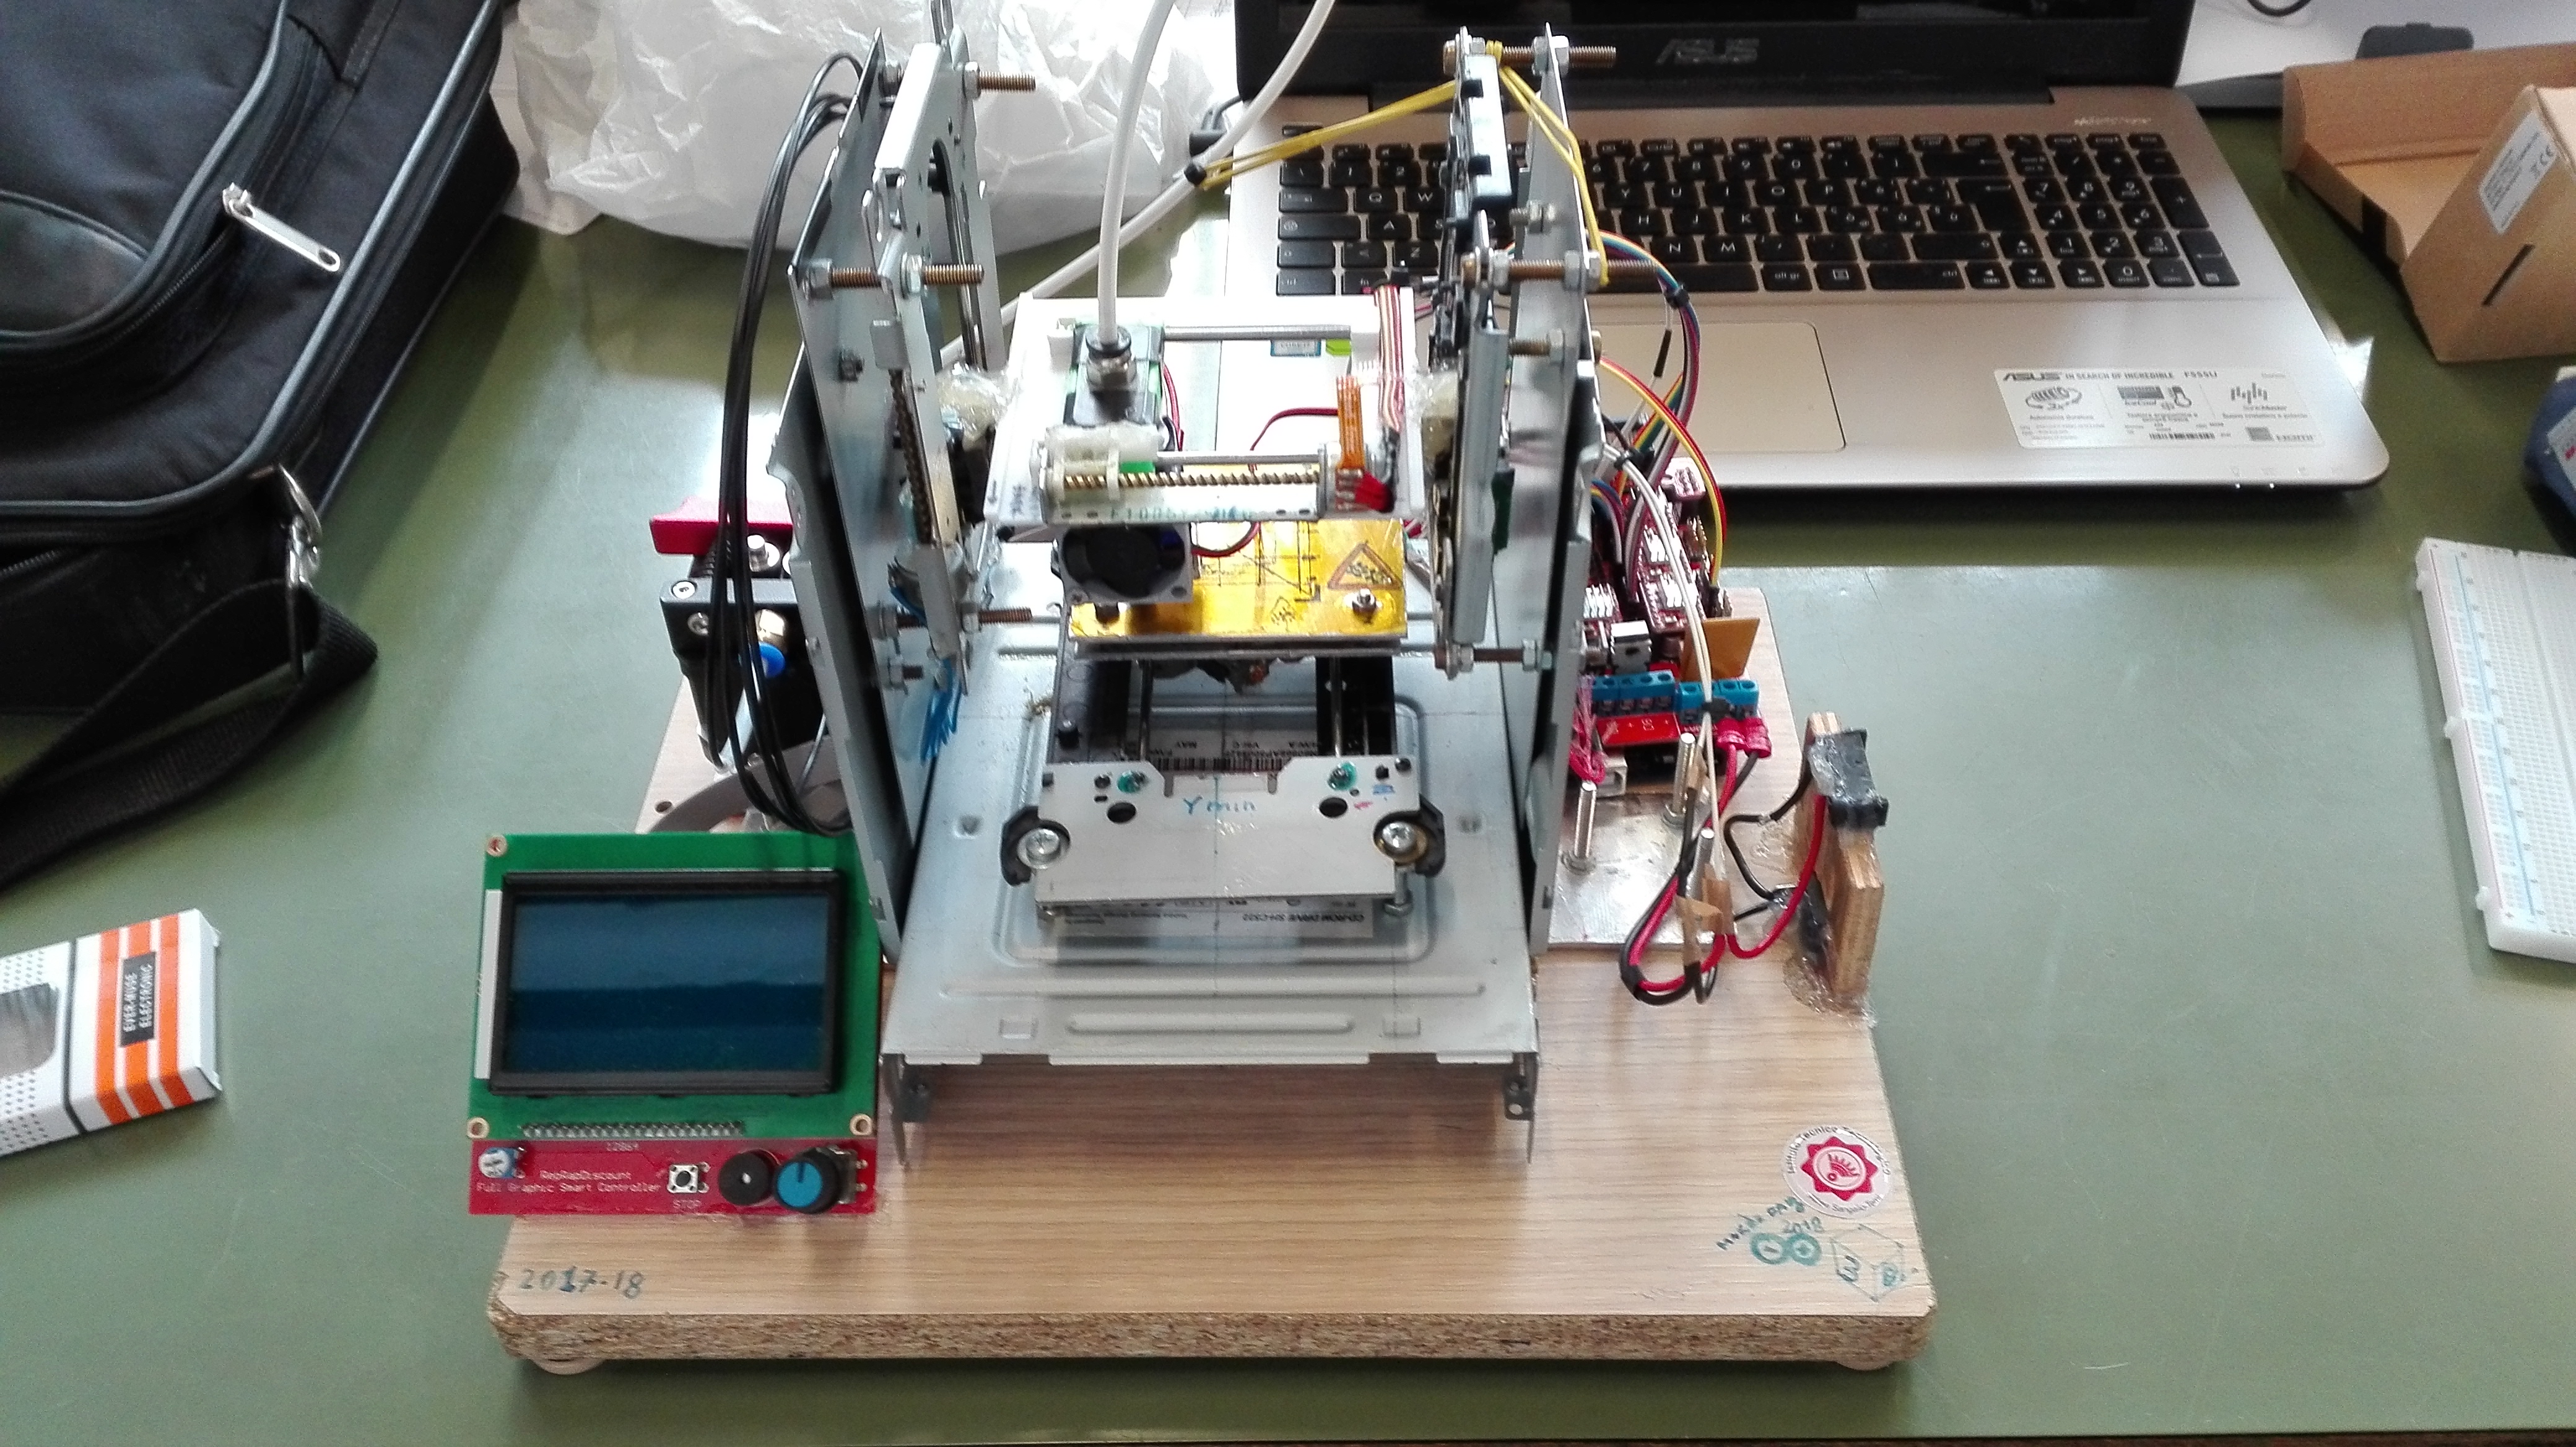
The printer now is totally done. It was very challenging project but the final result is very satisfacting